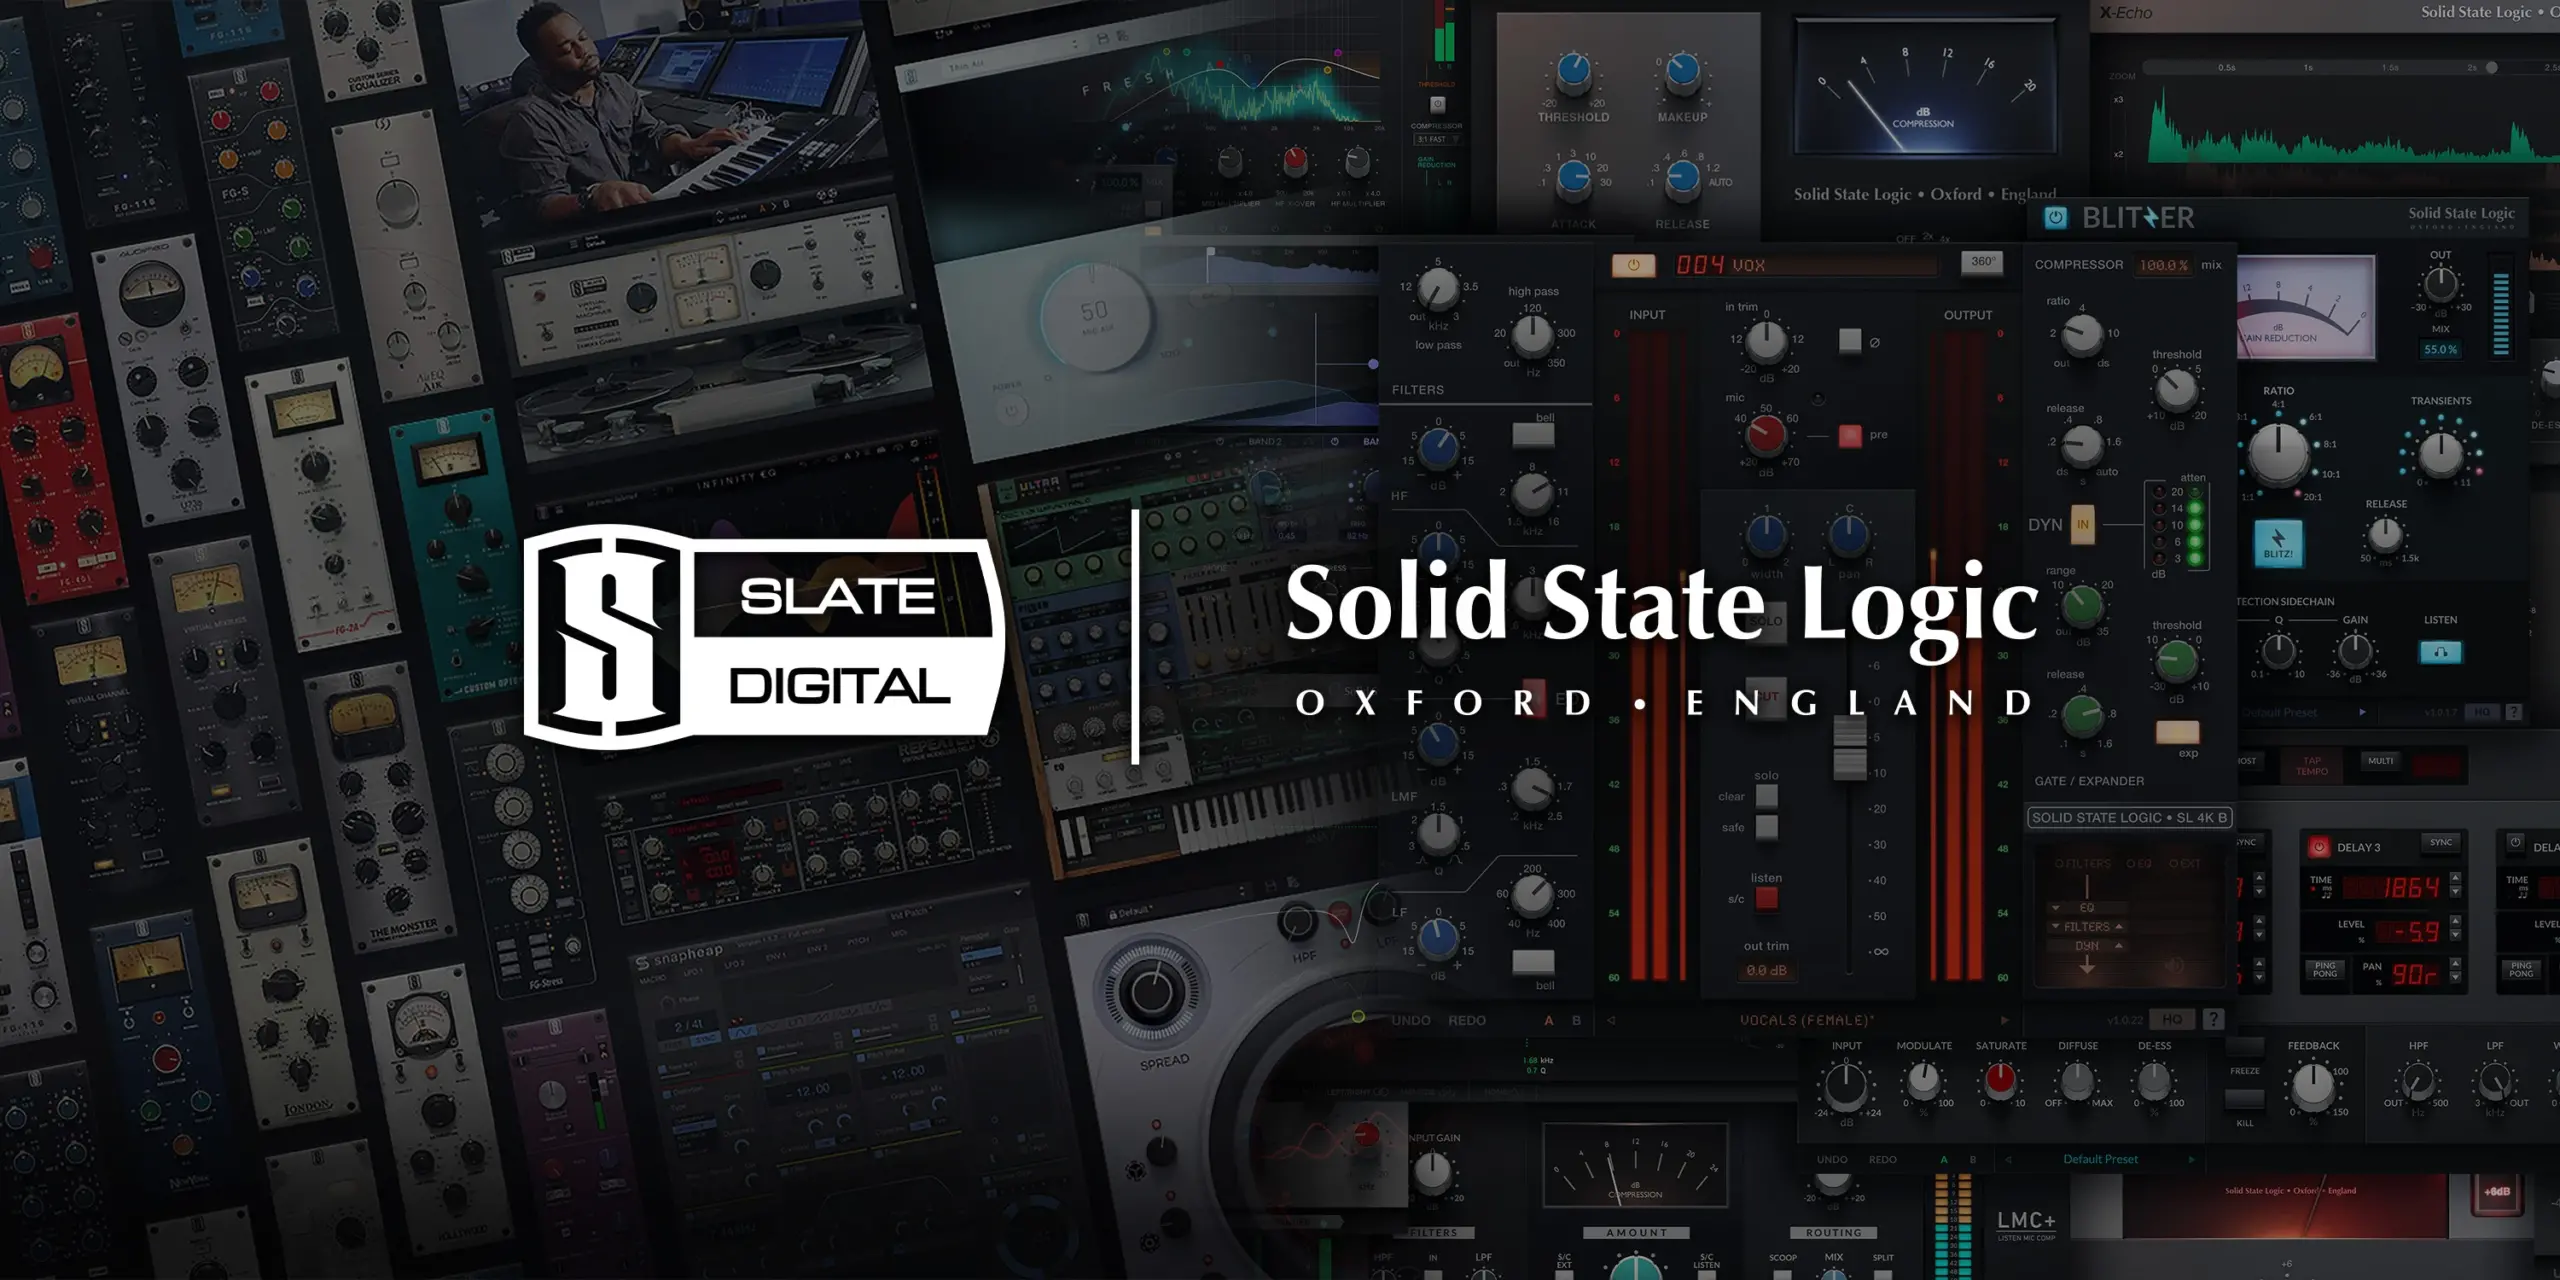
Chessington, UK, Nov 20th, 2023 – Two of the biggest pro audio plug-in brands, Slate Digital and Solid State Logic, have joined forces with a limited-time offer with access to BOTH their subscriptions for the price of one – just $14.99 per month plus local tax.* Available on their new joint subscription platform, customers will be able to keep this ever-growing dual ‘complete access’ package worth over $12k, indefinitely with a continuously renewed subscription.
The new ‘complete access’ offering combines two premium subscription packages:
With over 60 of the most prestigious processing and creative instrument plug-ins, including the latest VIRTU assisted mastering platform, Slate Digital’s All Access Pass has led the way in pro audio subscription offerings. It also brings incredible content with thousands of royalty free audio samples and exclusive boutique packs with presets, and access to hundreds of professional tutorials from leading producers and educators.
The SSL Complete subscription brings 30+ legendary Solid State Logic modelled consoles, compressors, equalisers, reverbs and delays, as used on decades of the world’s biggest selling music recordings. And with the acquisition of Harrison Audio, it includes a range of updated plug-ins direct from the music hitmakers in Nashville, USA.
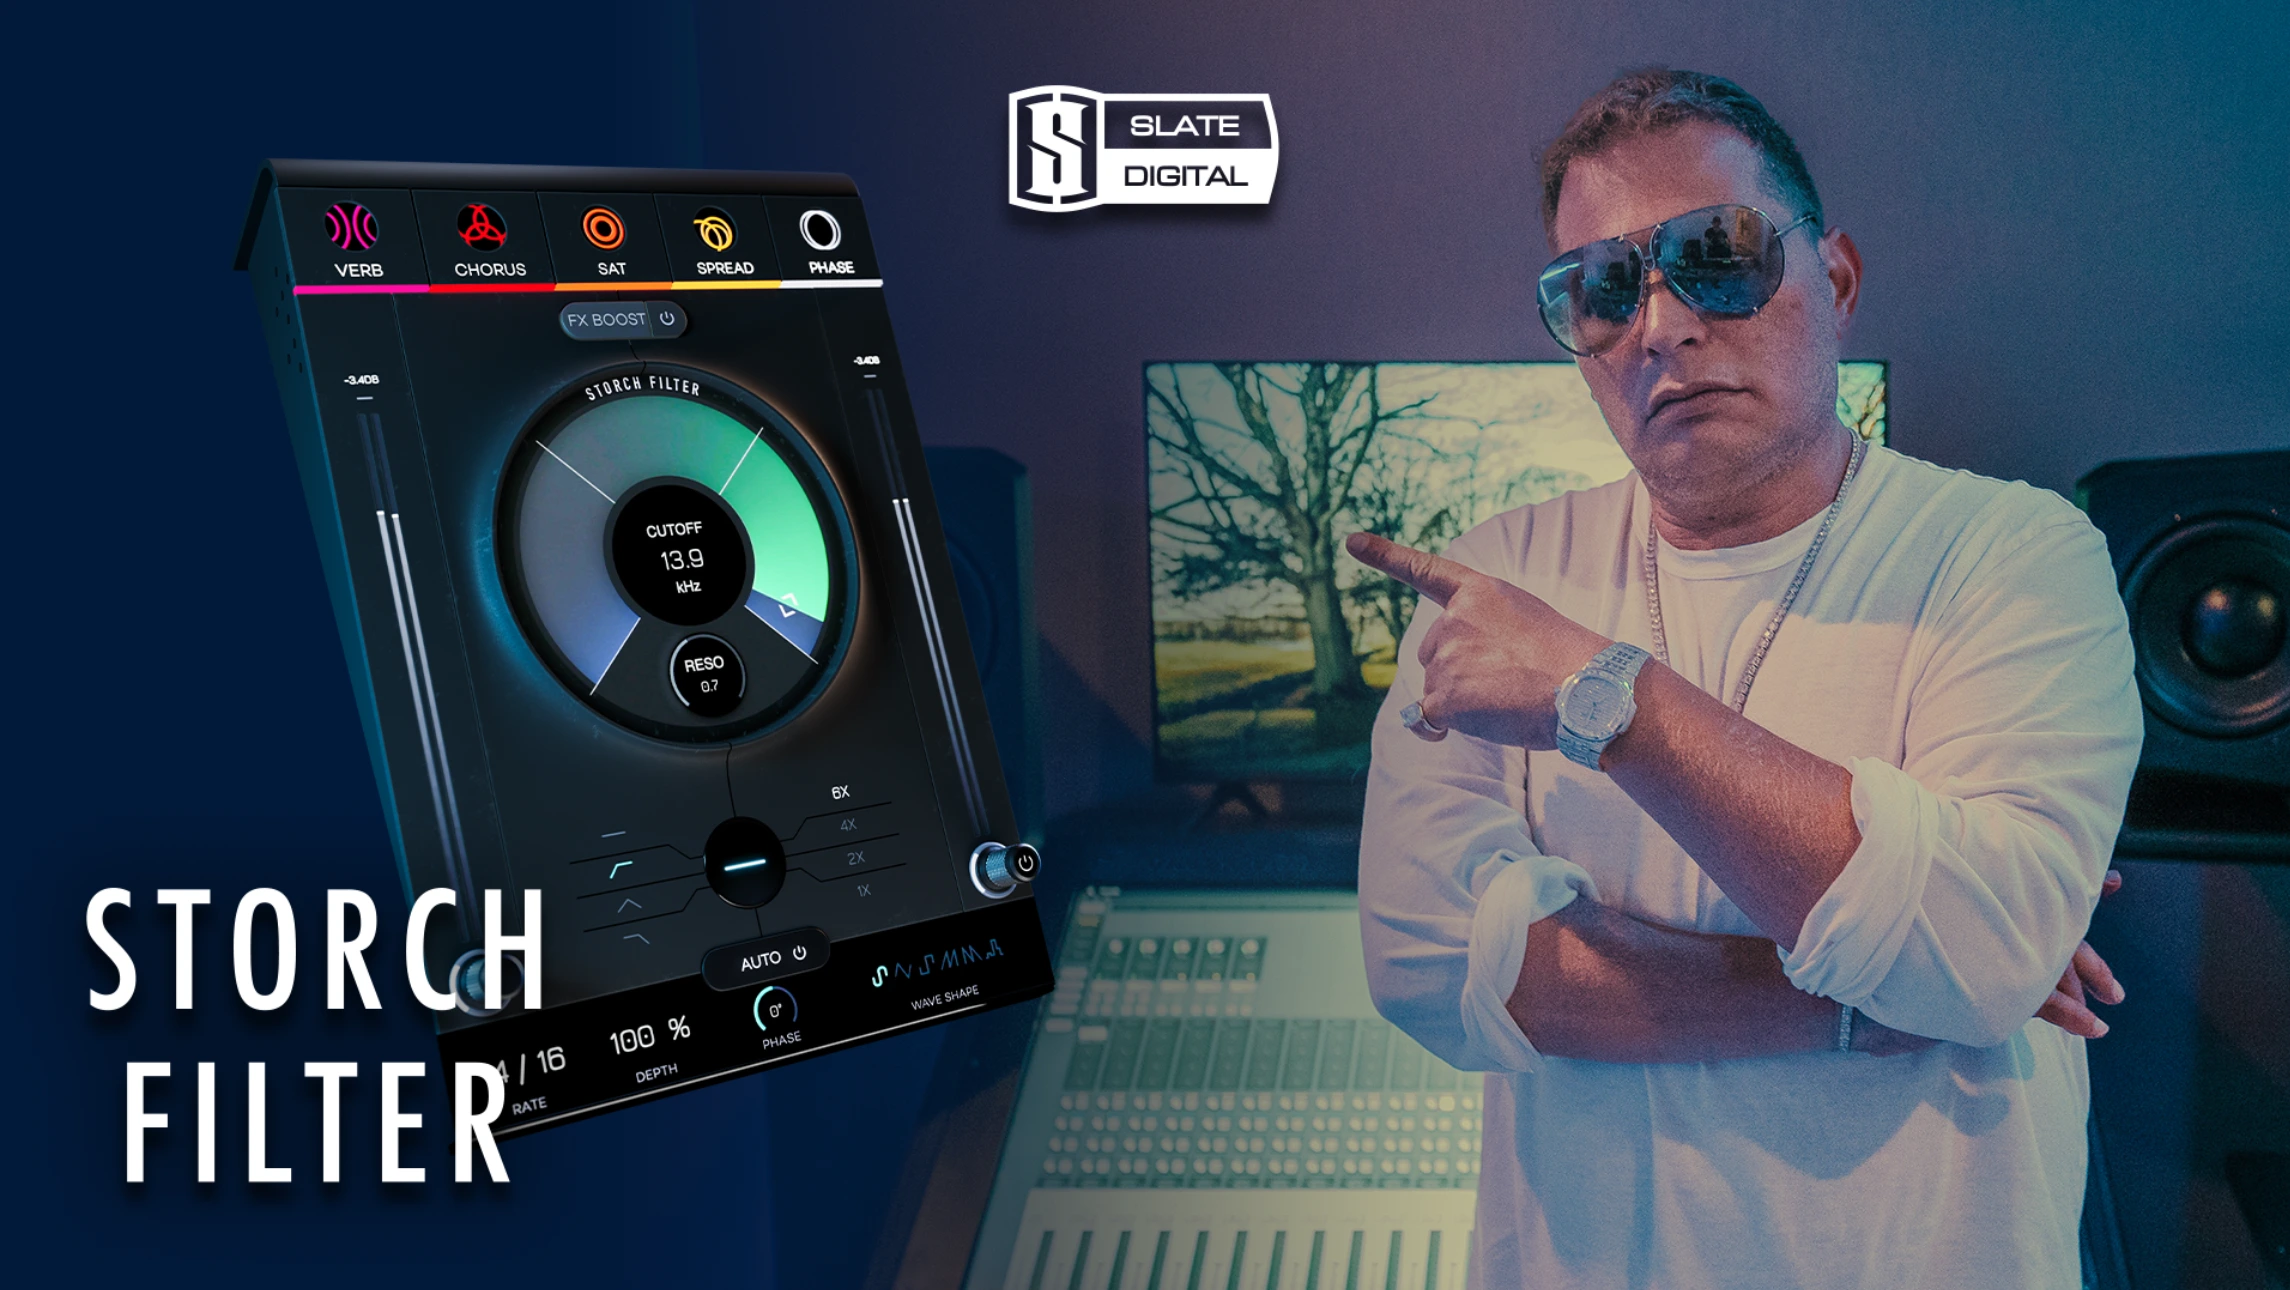
Slate Digital also announce today the release of the FREE Heatwave plug-in, plus the Strongroom™ London Expansion pack for their ML-1 modeling microphone. Heatwave is a free-to-all, simple-to-use transient-preserving saturator plug-in available from their website. Heatwave adds varying levels of saturation while preserving or accenting the original transients, effortlessly adding punch to drums, grit to keys, and a sharp edge to guitars.
The Strongroom™ London ML-1 Mic Expansion pack is available with an introductory offer price of just $99 and comes with five new exclusive mic models from the eclectic Strongroom™ microphone locker; the SD-414 EB, SD-414 BU, SD-4038, SD-47 FET, and SD-12 VR.
Solid State Logic will also announce on November 22nd the release of another much anticipated new plug-in to add to their subscription plan and ‘complete access’ package, as well as perpetually.
John Bastianelli, CEO of Slate Digital, comments “We have been running this amazing dual offer with our current loyal subscriber family and they are loving it, so we are really excited to make the ‘complete access’ package available to everyone. Slate Digital has always talked big when it comes to Black Friday offers, but now with our partners at Solid State Logic and the release of Heatwave and the Strongroom™ London ML-1 mic expansion pack, I think we just raised the bar with deals available to new and current customers.”
Nigel Beaumont, Managing Director of Solid State Logic, adds, “Being part of the same pro audio family, then bringing these astonishing processing and creative tools from the All Access Pass to our SSL subscribers for no additional cost was a no-brainer. With strong plug-in releases coming from both brands in the coming weeks and months, ‘complete access’ subscribers will get even more value from this amazing deal.”
The ‘Complete Access’ offer is only available to new subscribers from November 20th until November 28th, midnight PST. For more information, please head to https://slatedigital.com/complete-access/
* Price shown is for the Annual Paid Monthly subscription
About Solid State Logic
Solid State Logic is the world’s leading manufacturer of analogue and digital audio consoles and provider of creative tools for music, broadcast, live and audio production professionals. www.solidstatelogic.com
Press contact:
Martin Bennett – Audiotonix
Email: martin.bennett@audiotonix.com