
Key Takeaways
- Reverb is essential in mixing to create a sense of space and depth, and different types of reverb, such as hall, room, and plate, have unique characteristics tailored for specific elements in a track.
- Properly balancing dry and wet signals and strategically using settings like decay time and pre-delay are critical for maintaining clarity, preventing muddiness, and achieving the desired depth and spatial perception in a mix.
- Advanced reverb techniques, including the use of reverb sends, sidechain compression, and EQ and filters, can significantly enhance a professional mix by adding texture, maintaining clarity, and avoiding frequency buildup.
Achieving depth and character in your music relies heavily on one key element: reverb. But how do you use it effectively? In this guide, we’ll share essential tips for mixing reverb to help you craft a sound that’s professional and engaging. From understanding its role in depth perception to selecting the perfect reverb type for your track, each tip is geared towards elevating your mix.
Understanding Reverb and Its Role in Mixing
Reverb is created when sound waves bounce off surfaces in a space, weakening as they continue to travel until they eventually dissipate. This effect creates a sense of space and depth in the sound. This natural phenomenon, known as natural reverb, has been harnessed in music for centuries, long before digital technology made it accessible to everyone. Historically, concert halls and auditoriums were designed to enhance these reflections, creating a rich and immersive listening experience with the natural reverb effect.
In the context of mixing music, reverb is essential for creating a sense of space and depth. It allows individual elements to sit within a mix more naturally, making the overall sound more cohesive and pleasing to the ear. Different types of reverb, such as digital, convolution, and mechanical, offer unique characteristics that can be tailored to fit the needs of any track.
Whether you’re using a digital reverb plugin or a mechanical plate reverb, understanding how these effects work and their historical significance can help you make informed decisions in your mixing process. With the right reverb settings, you can transform a flat recording into a lively, dynamic piece of music that resonates with listeners.
Strategically Applying Reverb for Depth Perception

One of the most powerful uses of reverb in mixing is to create a sense of depth for the listener. By carefully adjusting reverb levels, you can manipulate how close or distant each sound source appears to the listener. This strategic use of reverb enhances the three-dimensional feel of your mix.
The Illusion of Distance
Reverb is a crucial tool in controlling the perceived distance of sound sources in a mix. By applying less reverb to a track, you can make the sound source feel closer to the listener, adding a sense of immediacy and intimacy. Conversely, increasing the reverb level can push the sound further back, adding an element of distance.
Using a low-pass filter on reverb can further enhance this illusion. By softening high frequencies, the reverb sound becomes more distant, helping to define the spatial depth of your mix. This technique can be particularly effective in creating a layered, immersive soundscape where each element has its own distinct place.
Balancing Dry and Wet Signals
Balancing dry and wet signals is crucial for maintaining clarity and depth in your mix. Too much reverb can muddy the sound, making it difficult to distinguish individual elements, while too little reverb can leave the mix sounding flat and lifeless. The mix knob on your reverb plugin allows you to blend these signals effectively, ensuring that the reverb complements rather than overwhelms the dry sound.
Using sends and returns can also provide greater control over the reverb levels. This setup allows you to:
- Adjust the reverb signal independently of the dry signal
- Fine-tune the balance and achieve a cohesive mix
- Ensure that your mix retains its clarity while benefiting from the added depth of reverb
Properly balanced dry and wet signals are essential for a professional-sounding mix.
Choosing the Right Reverb Settings for Your Track
Selecting the right reverb settings is essential for complementing the elements of your track without causing muddiness. Parameters like decay time and pre-delay play critical roles in shaping the reverb sound to match the mood and genre of your music. For instance, a ‘blooming’ reverb effect that gradually increases can enhance the music without overwhelming it.
By considering the specific needs of your track and experimenting with different reverb settings, you can tailor the reverb to fit seamlessly within the mix. Whether you’re working on a fast-paced pop track or a slow, atmospheric piece, choosing the right settings will help you achieve the desired sonic character.
Tailoring Decay Time to Fit the Track
Tailoring the decay time to fit your track’s tempo is a key aspect of effective reverb mixing. Tempo-matching reverbs can enhance the groove and cohesion of the track by aligning the reverb’s rhythmic properties with the music. Setting the reverb time to a fraction or multiple of the track’s tempo, such as 1/4 or 1/2, can create a rhythmic reverb that blends seamlessly with the track.
For faster tracks with more elements, shorter decay times are often more effective as they prevent the mix from becoming cluttered. In contrast, slower, more sparse tracks can benefit from longer decay times, adding a sense of space and atmosphere. Automation can also be used to dynamically adjust decay times, providing sophisticated and responsive reverb application.
Pre-Delay for Precision
Pre-delay is another important parameter that can add precision to your reverb application. By delaying the onset of the reverb effect, you can prevent the initial sound from becoming blurred, maintaining clarity and definition. For vocals, pre-delay times between 20 to 80 milliseconds can help the dry vocal stand out before the reverb tail blooms.
Different instruments benefit from different pre-delay settings. Guitar tracks, for example, may benefit from longer pre-delay times, ranging from 40 to 100 milliseconds, to create a room-filling sensation. Drums, on the other hand, typically require shorter pre-delay times to preserve their punch and clarity. Adjusting pre-delay settings allows you to tailor the reverb effect to suit each element in your mix.
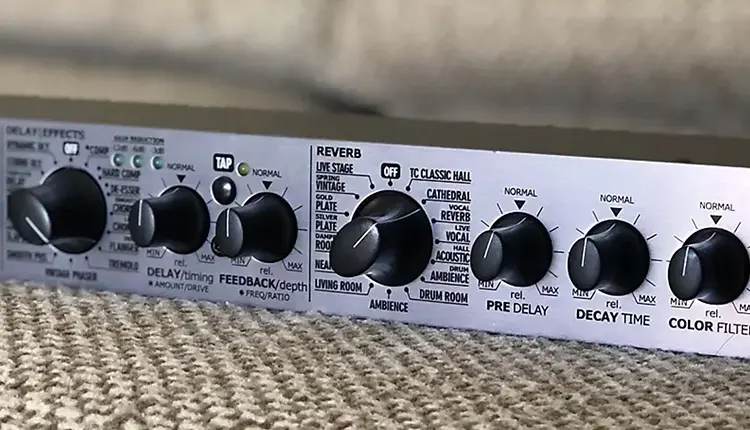
Harnessing the Power of Reverb Types

Different reverb types offer unique sonic characteristics that can be harnessed to create the desired character and space in your mix. Hall reverb, with its elongated decay times, is particularly well-suited for adding depth to orchestral arrangements. Room and plate reverbs, on the other hand, can be more effective on vocal tracks, providing intimacy and warmth.
Spring reverb, known for its bright and vintage sound, is a classic choice for guitar tracks, adding a distinctive vibe that stands out in the mix. Understanding the unique qualities of each reverb type allows you to choose the right one for your track, enhancing its sonic character and spatial depth.
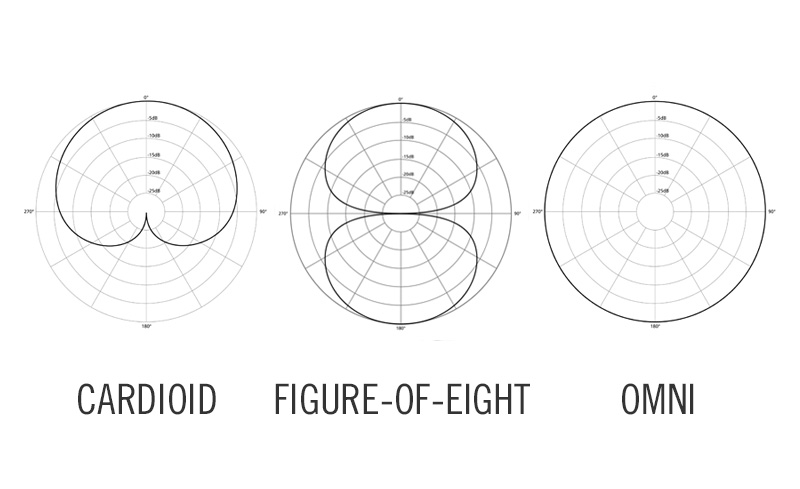
Room vs. Hall: Creating the Right Acoustic Space
Room and hall reverbs create distinct acoustic spaces, each with its own unique characteristics. Room reverb is designed to emulate the acoustics of smaller spaces, maintaining intimacy and immediacy in the mix. This type of reverb is ideal for tracks where a close, personal sound is desired.
Hall reverb, by contrast, replicates the expansive sound of large spaces, providing depth and grandeur. This type of reverb is particularly complementary to strings and pads, adding a sense of vastness and majesty to the mix. Understanding when to use each type of reverb can help you create the right acoustic space for your music.
Plate Reverb for Vintage Warmth
Plate reverb offers a unique sonic signature that can add vintage warmth to your mix. Known for its instant high echo density and frequency-dependent decay times, plate reverb provides a dense, warm sound that is particularly effective on lead vocal tracks. Using longer decay for bass frequencies and shorter for treble tones adds a distinctive texture that can enhance the overall warmth of the mix, making it an excellent choice for adding vocal reverb.
However, plate reverbs can sometimes sound metallic, requiring subsequent EQ adjustments to achieve a more organic-sounding effect. By carefully tweaking the reverb settings, you can harness the vintage character of plate reverb to add depth and warmth to your music.
Advanced Reverb Techniques for a Professional Mix

For a truly professional mix, advanced reverb techniques (like using reverb sends and sidechain compression) can make a significant difference. A reverb send enables independent processing of the dry and wet signals, allowing for greater control and flexibility in the mix. This setup can help you fine-tune the reverb effect to fit seamlessly within the overall sound.
Sidechain compression is another powerful tool for maintaining clarity in a mix. By ducking the reverb effect in response to another sound, such as vocals or a kick drum, you can prevent it from overpowering other elements and keep the mix clean and defined. These advanced techniques can elevate your reverb mixing to a professional level.
Creative Use of Reverb Sends
Creative use of reverb sends can add unique textures and effects to your mix. For example, pitch-shifting effects, like octavized reverb on a send, can add presence to vocals and instruments. Distortion effects, such as bitcrushing or saturation, can also be applied to a reverb send to create a dramatically different character that can be further refined with EQ. Using a reverb send into your mix can help achieve these effects more efficiently, especially when using the same reverb settings across multiple tracks.
Automating reverb send parameters like the dry/wet mix or decay length can create dynamic changes that highlight important moments or transitions within a song. Employing rhythmic reverb splashes on specific beats enhances the groove and adds a dynamic reverb effect that integrates with the track’s rhythm. These techniques can help you create a more engaging and textured mix.
Dynamic Sidechain Compression for Clarity
Dynamic sidechain compression can be applied to reverb signals to maintain clarity and prevent them from overpowering other elements in the mix. By using sidechain techniques, you can manage the reverb effect so that it fills the spaces between phrases without interfering with the clarity of the instrumental sound.
By compressing the reverb tails, the quieter parts of the reverb become louder and more sustained, producing a pronounced reverb effect without muddiness. This technique ensures that the reverb enhances rather than detracts from the overall mix, providing a clean and professional sound.
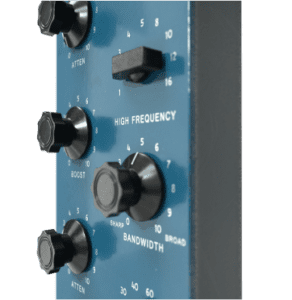
Fine-Tuning Reverb with EQ and Filters
Fine-tuning reverb with EQ and filters is essential for maintaining clarity and avoiding muddiness in your mix. Equalizing reverb returns can prevent a buildup of murky frequencies, helping to keep the mix clean and well-defined. Balancing the wet and dry signals with EQ and compression can also avoid harshness and ensure that the reverb complements the overall sound.
Using techniques like the Abbey Road trick, which involves applying a high-pass filter at 600Hz before the reverb effect, can help manage low-end muddiness and retain a natural feeling. These fine-tuning techniques can make a significant difference in achieving a polished and professional mix.
Cutting Low Frequencies to Reduce Mud
Cutting low frequencies with a high-pass filter is a crucial step in reducing mud and maintaining clarity in your mix. Implementing a high-pass filter on the reverb return helps eliminate low-end rumble and prevents the mix from feeling weighed down. Cutting the low end around 100 Hz and below can greatly reduce unwanted low-frequency buildup, contributing to a cleaner mix.
Starting with a high-pass filter set at a low cutoff frequency, like 50 Hz, and gradually increasing it allows for fine-tuning the reverb effect to ensure a clean yet full reverb sound. This technique helps maintain the clarity and definition of your mix.
Sculpting High Frequencies for Natural Sound
Sculpting high frequencies with a low-pass filter can create a darker, warmer reverb sound that sits better in the mix without overwhelming the dry signal. Rolling off high frequencies in reverb can yield a sound that is less harsh and more natural, allowing the reverb to sit louder in the mix while maintaining clarity. This technique is particularly useful in preventing the reverb from clashing with the high-frequency content of the dry sound, ensuring that the direct sound remains prominent and clear.
By carefully adjusting the low-pass filter, you can achieve a balance where the reverb enhances the track without introducing unwanted high-frequency artifacts. This approach helps in creating a cohesive and polished final mix, where the reverb adds depth and warmth without overpowering the primary elements of the track.
Personalizing Reverb for Artistic Expression
Personalizing reverb for artistic expression involves experimenting with various reverb parameters and techniques to create unique sonic textures and enhance the distinctiveness of a mix. Genres such as jazz and folk often use natural-sounding reverbs to preserve the essence of live performance, creating an organic listening experience. In contrast, pop and electronic music frequently employ creative reverb techniques to maintain listener interest, such as selective reverb on drum hits or reverse reverb on progressions.
Implementing unconventional reverb settings can lead to original sonic textures that set your songs apart from the competition. Here are some techniques to try:
- Bi-amplified reverb
- Rhythmically splashed reverb
- Bitcrushing applied to reverb
- Saturation applied to reverb
By experimenting with these creative approaches, you can personalize your reverb use to reflect your artistic vision and enhance the overall impact of your music.
Experimentation Leads to Innovation
Experimenting with unconventional reverb settings and techniques can lead to innovative sound experiences and original sonic textures that reinforce the distinctiveness of a mix. Applying techniques like reverse reverb, where a sound is reversed, reverb is added, and then the sound is reversed back, can provide a haunting and unique texture. Similarly, freezing reverb tails to create sustained tones that can be resampled allows the creation of novel instruments composed solely of reverb reflections.
By pushing the boundaries of traditional reverb use, you can discover new ways to enhance your mixes and develop a signature sound. Encouraging experimentation not only leads to innovation but also helps you find unique solutions that can elevate your music and captivate your audience.
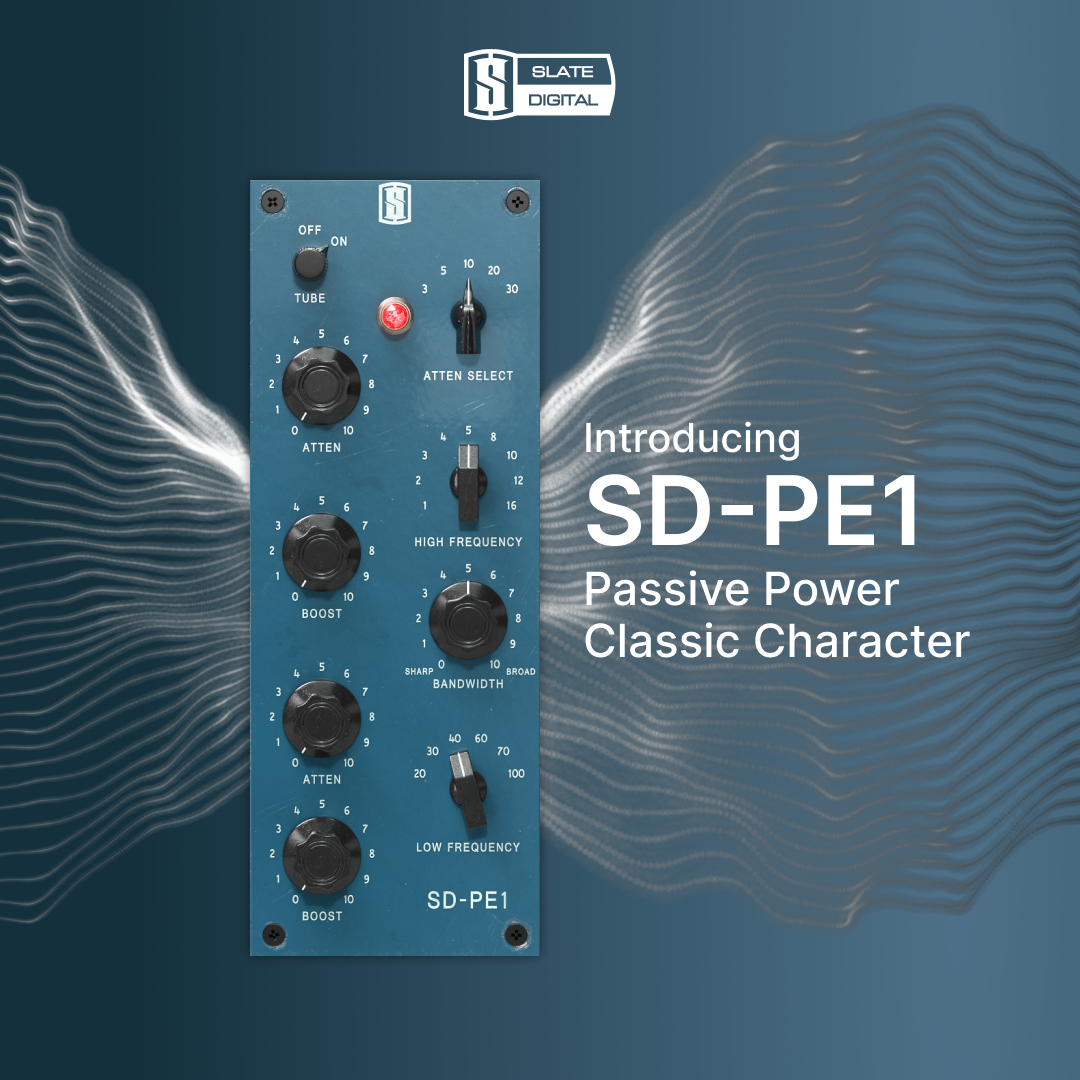
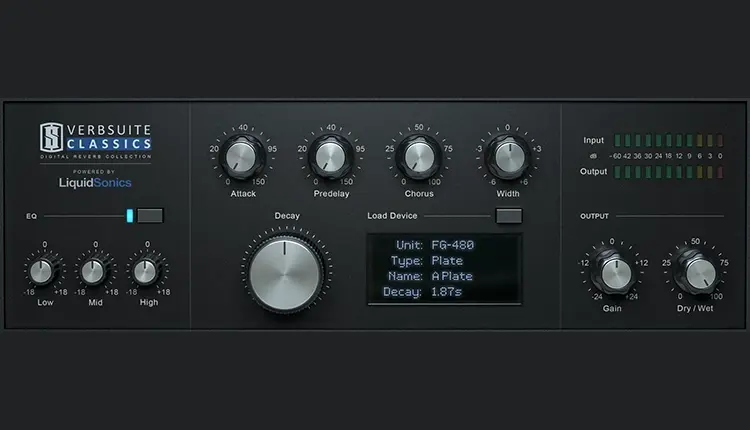
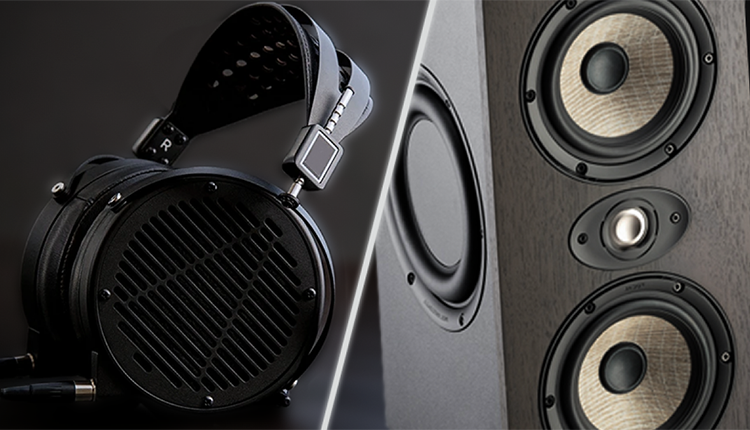
Enhance Your Mixes with Slate Digital’s Reverb Plugins
When it comes to mixing reverb, having the right tools at your disposal is crucial. Slate Digital offers a comprehensive range of reverb plugins designed to give you ultimate control over the space and depth of your mixes. Whether you need the natural acoustics of convolution reverb or the creative flexibility of algorithmic reverb, our plugins provide professional-grade results.
Our reverb plugins feature advanced settings such as pre-delay, modulation controls, and precise reverb tails that allow you to craft the perfect ambiance for your tracks. By integrating these plugins into your mixing workflow, you can add richness and dimension to vocals, drums, guitars, and more, ensuring each element sits perfectly in the mix.
Explore our collection of reverb plugins and discover how they can transform your mixing process. For more information and to find the perfect reverb plugin for your needs, visit our Reverb Plugins page.
Summary
In summary, properly mixing reverb requires a thorough understanding of its fundamental principles, strategically applying it for depth perception, choosing the right settings, harnessing different reverb types, employing advanced techniques, and fine-tuning with EQ and filters. Each of these steps contributes to creating a polished, professional sound that enhances the overall impact of your music.
Whether you’re aiming for a natural, live performance feel or a creatively processed sound, the tips and techniques outlined in this guide provide a solid foundation for effective reverb mixing. By experimenting and personalizing your approach, you can develop a unique sonic signature that sets your music apart. Embrace the power of reverb and transform your mixes into immersive, three-dimensional soundscapes.
Frequently Asked Questions
What is the role of reverb in a mix?
Reverb creates a sense of space and depth in a mix by simulating the reflections of sound waves, resulting in a natural and cohesive sound.
How can I use reverb to create depth perception in my mix?
By adjusting reverb levels and balancing dry and wet signals, you can create a sense of depth perception in your mix, simulating various distances for sound sources and enhancing the overall three-dimensional environment.
What are the best reverb settings for vocals?
Set the pre-delay time between 20 to 80 milliseconds to enhance vocal clarity in dense mixes.
How can I prevent reverb from muddying my mix?
To prevent reverb from muddying your mix, use EQ and filters to cut low frequencies and sculpt high frequencies. This can help maintain clarity in your mix.
What are some creative reverb techniques I can experiment with?
Experiment with techniques like reverse reverb, rhythmic reverb splashes, and applying distortion effects to reverb sends to create unique sonic textures in your mix. These can enhance the distinctiveness of your sound.


 Delve into the heart of music production, where a single musical idea blossoms into a full-fledged song. It’s a journey through:
 Step into the shoes of a successful music producer, a role that is as dynamic as it is crucial. The music producer is responsible for:
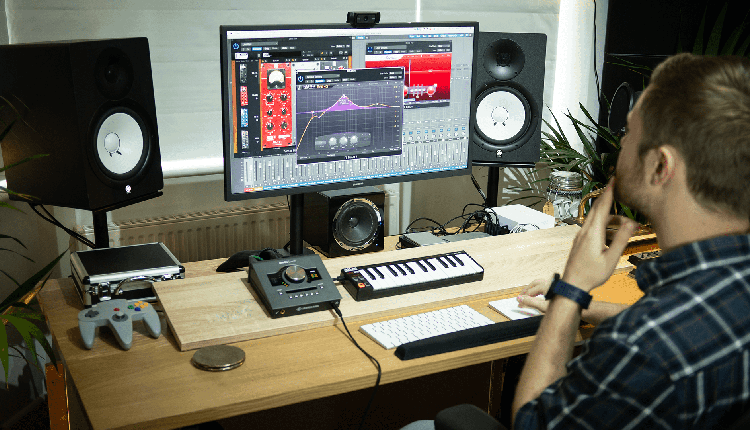
 Embarking on the music production journey requires more than just passion. It demands a toolkit that can transform your creative visions into auditory reality. Key to this process is a modern music production setup that includes:


 Selecting the perfect digital audio workstation isn’t just about choosing the most powerful or the most expensive one. It’s about finding the DAW that clicks with your unique style of music production. Imagine trying to fit a square peg in a round hole—that’s what using the wrong DAW feels like. But how do you find your perfect match in a sea of digital audio workstations? By considering a few critical factors that will dictate not just how you work, but how well you work.
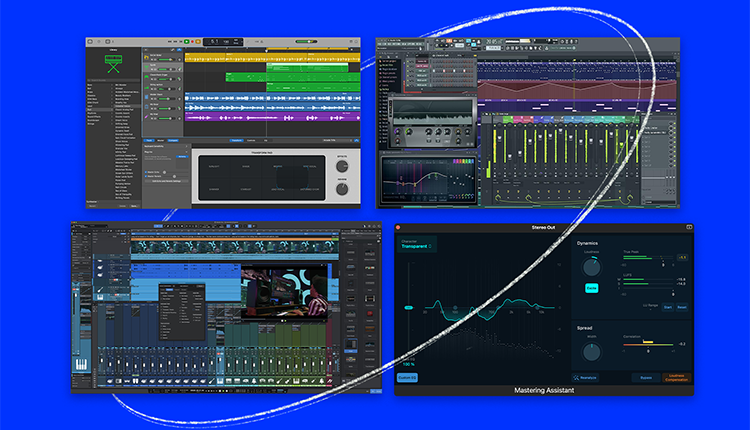 Having established the basics, we’re now ready to focus on some of the leading digital audio workstations (DAWs) in the music production realm. Each DAW is akin to a luxury vehicle, boasting distinct features and subtleties that appeal to varying types of musicians and producers. Key players include:
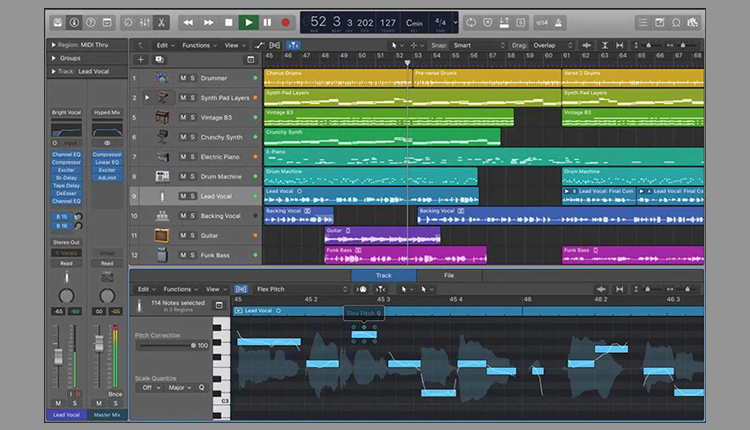 For those deeply ingrained in the Apple ecosystem, Logic Pro X may be your digital audio workstation of choice. This robust platform excels with its flawless compatibility with Apple devices and boasts a vast array of virtual instruments and effects within its libraries. Priced at $199.99, it serves as an accessible yet professional-grade DAW that caters equally to novices making the leap from GarageBand as well as expert producers in search of sophisticated functions.
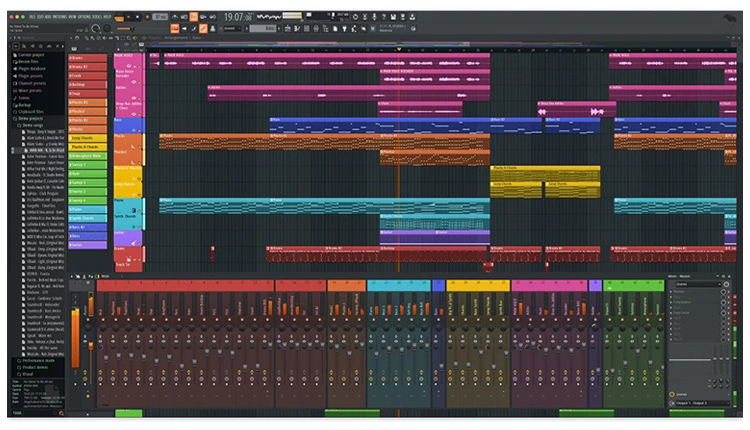 FL Studio, once known as “FruityLoops,” has come a long way from its origins as a MIDI drum machine. Today, it stands tall as a favorite among hip-hop producers and electronic musicians thanks to its intuitive beat-making tools and a modular environment that encourages creativity. With a history that stretches back to 1998, FL Studio has evolved into a full-fledged DAW that’s not only beginner-friendly but also packs enough punch for the pros.
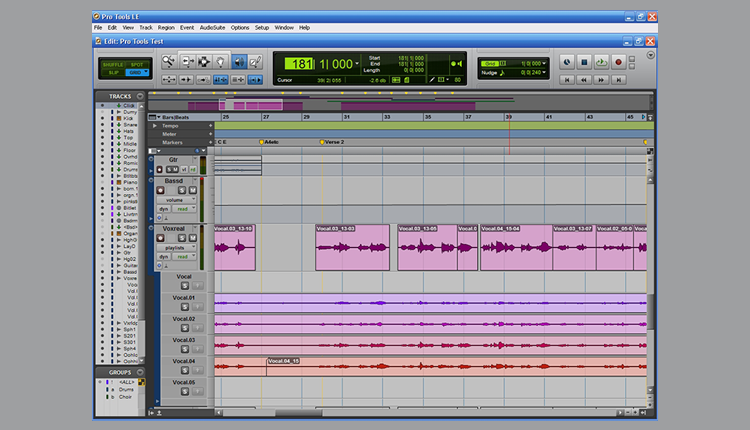 Pro Tools is widely regarded as the core element of music production in many top-tier recording studios worldwide. Renowned for its outstanding audio processing and comprehensive support for plugins, mastering Pro Tool’s intricacies is like becoming fluent in a universal language of the industry that allows seamless collaboration and offers portability of skills among various studios and projects.
 Cubase, developed by Steinberg, is a stalwart in the DAW landscape, boasting a reputation for powerful MIDI capabilities and a comprehensive virtual instrument library. Its arrangement view offers a familiar layout for those used to traditional linear DAWs, but with an extensive set of features that cater to detailed audio editing and plugin use. For musicians and producers who revel in MIDI composition and require a strong set of built-in tools, Cubase is a solid choice.
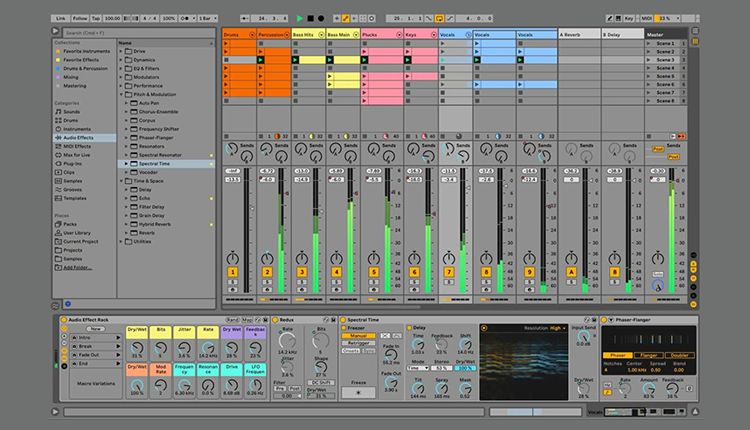 Ableton Live has become a hallmark of performance within the electronic music realm. Renowned for its innovative interface and capabilities to manipulate sounds in real time, it stands as the preferred software for electronic artists eager to inject energy and fluidity into their performances. Although it may initially present a steep learning curve, once grasped by users, Ableton’s distinctive approach to crafting music becomes invaluable — providing a composition workflow that is considered second-to-none.