Key Takeaways
- MIDI is a protocol that allows electronic musical instruments and computers to communicate, making it a vital tool for modern music production due to its flexibility, compact file size, and ability to manipulate musical elements with ease.
- Understanding the basic components of a MIDI setup, such as MIDI ports, cables, and interfaces, is crucial for efficient device communication, with each component playing a distinct role in transmitting and converting MIDI data.
- Advanced MIDI techniques, including MIDI Polyphonic Expression (MPE) and sequencing/automation, offer musicians greater expressive control and the ability to create complex compositions, enhancing the capabilities of electronic instruments to rival those of acoustic ones.
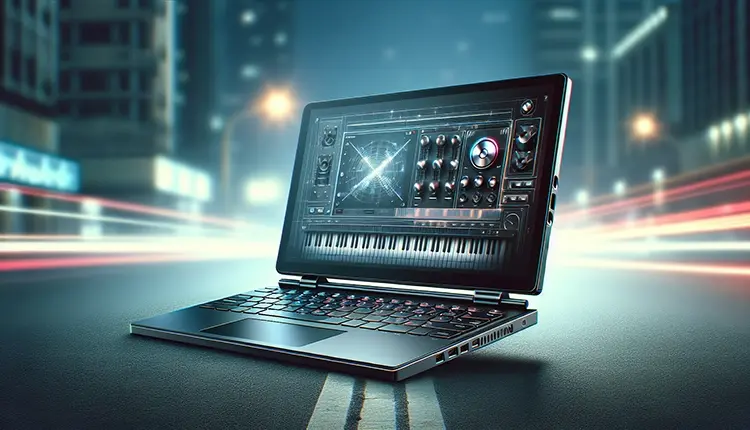
Musical Instrument Digital Interface, or as it’s more commonly known ‘MIDI’, is a technical standard that enables communication between computers and electronic instruments. Rather than transmitting sound itself, MIDI data details how music should be played. Due to the compact size of MIDI files and their versatility in editing, they have become indispensable in contemporary music production. This discussion will delve into the nature of MIDI, its operational mechanism, and the advantages it provides within the realm of composing music.
What Is MIDI: The Best Tool for Modern Music Production
MIDI serves as a standard protocol that fosters interoperability among electronic musical instruments, computers, and additional equipment. This system enables music professionals to integrate their work across various platforms effectively. In contrast to conventional audio files, MIDI data doesn’t contain actual sound recordings. Instead, it relays information about the notes to play, specifying details like pitch and note duration, without any auditory content itself. Because MIDI files are purely informational, they are exceptionally lightweight and highly amenable to manipulation and processing. Their flexibility means that a user can correct errant notes within these files just as effortlessly as they can modify an entire musical composition or—a testament to the integral role that MIDI occupies in contemporary music production.
Introduction
The notion of MIDI can seem daunting, replete with complex terms and elaborate configurations to many. Yet, this blog is set on unraveling the complexity of MIDI by segmenting it into straightforward, comprehensible components. We will begin at ground level by defining what MIDI represents and its operational principles. Subsequently, we’ll delve deeper into topics such as the application of midi controllers in music production. When you reach the end of this blog series, you’ll recognize that MIDI transcends being merely an instrument. It’s a portal to infinite musical opportunities.
The advantages offered by MIDI are numerous:
- Diminutive file sizes
- Remarkable adaptability
- The capability of changing tempo, key signatures or instrument sounds while preserving sonic quality
- Compatibility with an extensive selection of electronic instruments alongside digitally sampled tones
- Unlimited potential for innovation in creation
Through utilizing MIDI’s capabilities, you gain more than just the ability to perform music—you’re empowered with precision tools essential for sculpting your unique auditory artistry down to its every subtle detail.
Understanding MIDI: The Basics
Unlike traditional audio files that capture sound recordings directly, MIDI files store detailed instructions for generating sounds, which results in much smaller file sizes and simplifies management tasks considerably. The use of this interface permits meticulous manipulation of key musical aspects such as pitch intensity or volume while also ensuring accurate timing during both live presentations and recording sessions.
Advantages of using MIDI include:
- Reduced file size for easy handling
- Simplified editing and alterations to music pieces
- Swift modifications to parameters including rhythm speed or musical scale without the need to re-record full tracks again
- Increased flexibility within the realm life performances tailored towards achieving specific sonic outcomes
Lastly it possesses compatibility with an arrayriad series thats available from many manufacturers with digital products instruments software thus unlocking new avenues creativity exploration.
How Does MIDI Work?
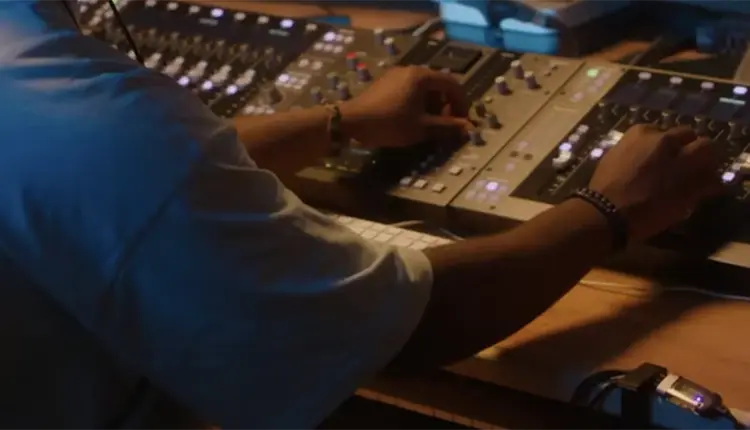
A MIDI keyboard does not record music, but rather generates a set of instructions, which is known as MIDI data. Whenever you play a note on the keyboard, it creates what’s called a “MIDI event,” signaling to any connected equipment precisely which note to hit, its duration, and intensity. These cues are sent in the form of MIDI messages that are composed of an initial status byte plus one or two additional bytes detailing the specific commands—enabling fine-tuning over your musical creation.
The transmission of these MIDI messages can occur via traditional midi cables or through USB connections and can be captured by a sequencer or digital audio workstation (DAW) for refinement and subsequent playback. One of the hallmarks of Midi technology is its ability to process several channels at once. Within one stream, there’s capacity for managing upiafdsdsadsto 16 distinct channels simultaneously—allowing each channel control over separate sounds or instruments—which is crucial for intricate setups during music production.
Understanding how these various midi channels function together ensures fluid interaction between devices involved in generating soundtracks. Specific assignments per channel guide different instruments for harmonious orchestration when using multiple pieces ofsadsadsa equipment alongside each other. MIDddi offers specialized System Exclusive (SysEx) messaging options facilitating comprehensive data transfer about instrumental functionalities—to give artists overarching control over their compositional elements.
The History and Evolution of MIDI
In the early 1980s, the story of MIDI began with a collaborative effort among major electronic instrument manufacturers that included names like Roland, Sequential Circuits, Yamaha, Korg and Kawai. Their joint efforts were aimed at creating a standardized digital protocol for these instruments. The result was MIDI—Musical Instrument Digital Interface—which quickly became an essential component in the realm of music production involving electronic equipment. The launch of Ensoniq Mirage in 1984 as the first affordable MIDI sampler on market allowed even more musicians to exploit this technology’s capabilities.
Throughout its existence, continuous advancements have been made to MIDI technology. After sustaining over thirty years without substantial updates—a remarkable feat—the introduction of MIDI 2.0 represented a significant leap forward in functionality and capability within this field.
One key innovation is known as MPE or “MIDI Polyphonic Expression,” recognized since 2018 by the industry’s own governing body. The MIDI Manufacturers Association (MMA). This breakthrough allows users nuanced control over every single tone when playing chords—an enhancement which imparts upon electronic instruments some measure of expression once thought exclusive to acoustic counterparts.
Why Use MIDI in Music Production?
One of the most significant advantages of MIDI is its versatility. It offers several benefits, including:
- The ability to fix errors
- Options to alter sound quality
- Ways to completely redo sequences
- Detailed management over musical aspects such as note pitch, timing, and loudness
In both live performances and studio settings, MIDI proves invaluable. Its ability to connect seamlessly with a variety of electronic instruments and software amplifies its usefulness in creating music.
A benefit worth mentioning is the minimal file size associated with standard midi files. Compared to digital audio files, they are substantially smaller—typically between 200x to 1000x less—which makes them more practical for storage purposes regarding musical content. Their reduced size allows computers easily handle many midi files at once without significantly impacting system performance.
MIDI’s facility for modification and non-destructive edits is crucial in contemporary music production since it empowers artists by allowing:
- Creative experimentation without limitations
- Simple alterations and reconfigurations of musical parts
- Adjustments in tempo or key that do not compromise sound integrity
-Musical expression through real-time manipulation using MIDI controllers during live sessions or recording processes
To sum up, due primarily to its manageable file dimensions along with formidable editing flexibility, the traditional format is integral within realms where musicianship meets technology. Thus cementing standard midi as an indispensable tool among those crafting sounds today.
Key Components of a MIDI Setup
A well-organized MIDI configuration incorporates a range of essential elements that collectively ensure the smooth interchange of signals between devices. The cornerstone components for this setup are the midi ports, midi cables, and midi interfaces which play a pivotal role in facilitating the movement of Midi data. It is critical for individuals aiming to harness MIDI’s full capabilities within their music production pursuits to have an understanding of these key parts.
In terms of distinct functions: Midi IN, OUT and THRU ports regulate incoming and outgoing messages as well as pass-through communications amongst various instruments. While special-purpose midis cords carry this information with high efficiency. MidIs interfaces essentially convert musical instrument digital interface signals so they can be recognized and manipulated by computers. To fully appreciate their significance, let us examine each component more closely regarding its particular purpose and contribution.
MIDI Ports
MIDI ports serve as the channels for transmitting MIDI data and are mainly divided into three distinct types.
- MIDI IN: This port enables a device to accept MIDI data originating from an alternate source.
- MIDI OUT: Through this port, a device dispatches its own MIDI data onward to another unit.
- MIDI THRU: This is instrumental in linking several instruments together—such as synths and drum machines—allowing a sequencer to distribute information across these devices.
For accurate transfer of midi data, it’s imperative that cables are plugged accurately into their designated ports.
MIDI Cables
The essential conduits for transmitting MIDI data within any MIDI configuration are the well-crafted MIDI cables. These cords usually come with five tiny pins and to preserve signal quality, they should preferably not exceed a length of 20 feet. Although classic 5-pin DIN connectors have been standard, contemporary configurations frequently adopt connections like USB, FireWire, or Ethernet for their enhanced adaptability and user-friendliness.
There are TRS MIDI cables that employ Tip, Ring, and Sleeve plug designs to provide diverse connection options tailored to particular equipment requirements.
MIDI Interfaces
MIDI interfaces play a crucial role in:
- Translating and transferring MIDI data from your instruments to your computer
- Maintaining consistent synchronization, which guarantees the smooth exchange of MIDI information among devices
- Facilitating the two-way communication necessary for operating hardware synthesizers using DAW sequencers.
These interfaces frequently employ USB connections, rendering them an adaptable component within any studio configuration.
MIDI Controllers and Instruments
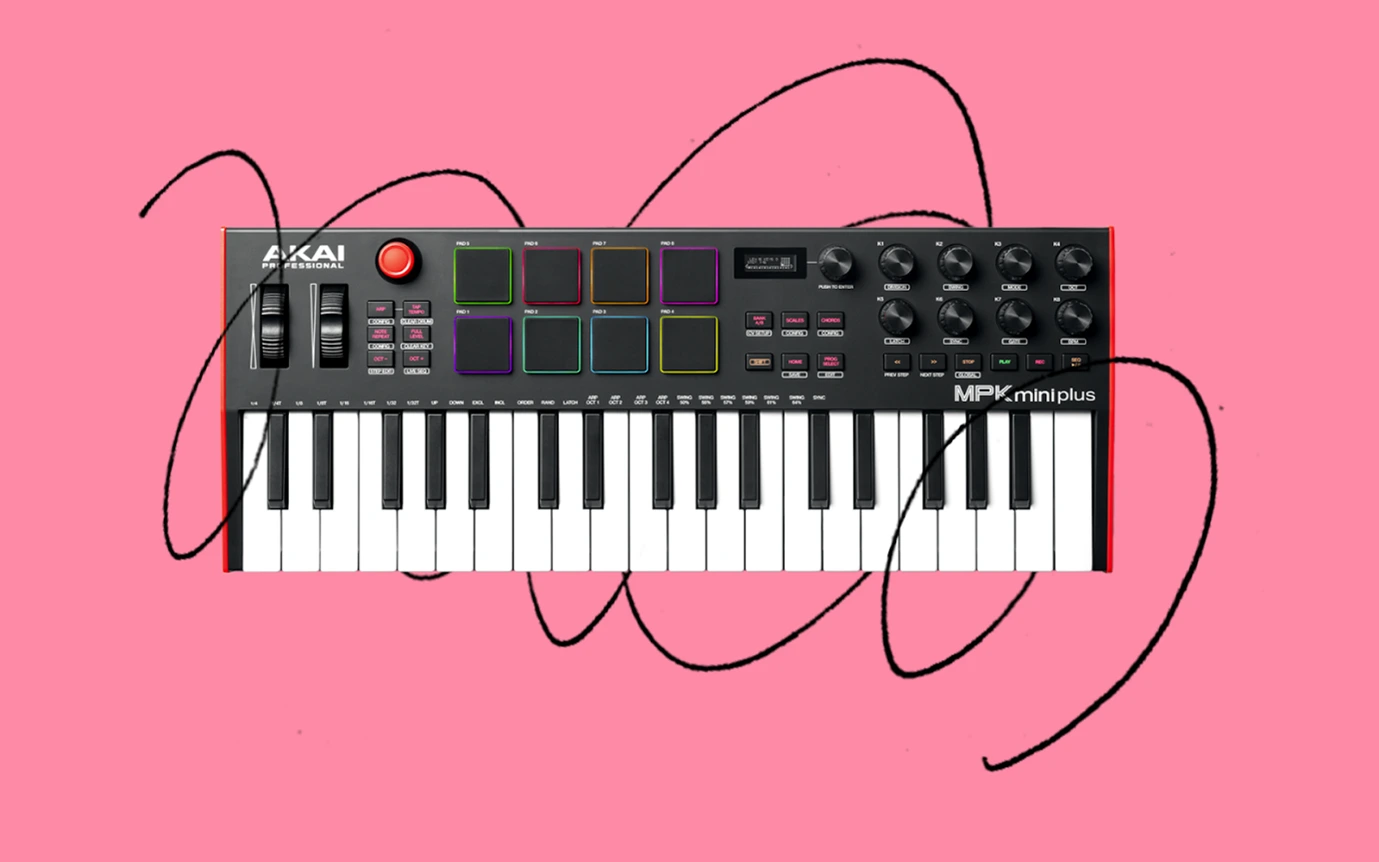
A device that outputs MIDI data and facilitates the manipulation of electronic musical instruments, either software or sound modules, is known as a MIDI controller. These devices span from straightforward keyboard layouts to more intricate systems complete with dials, faders, and touchpads for fine-tuning sonic elements. Novation’s MIDI controllers are eminent examples engineered to enable hands-on management of both hardware and software synthesizers. MIDI controllers grant artists the ability to seamlessly operate virtual instruments within digital audio workstations (DAWs), thus expanding their artistic potential.
On the other hand, MIDI-equipped instruments are designed to produce sounds when prompted by MIDI data. They serve dual purposes in music production and live performances, making them invaluable assets for musicians. The scope of these musical tools covers everything from hardware such as vintage synths and drum machines to smoothly running different plugins.
Types of MIDI Controllers
In the realm of music production, there is a diverse array of MIDI controllers designed to suit specific requirements. Notable varieties include:
- The MIDI keyboard, which offers velocity-sensitive keys and customizable knobs for playing notes and adjusting controls
- Drum pads, developed for crafting beats on the fly
- Fader banks that allow tactile interaction with mixing processes
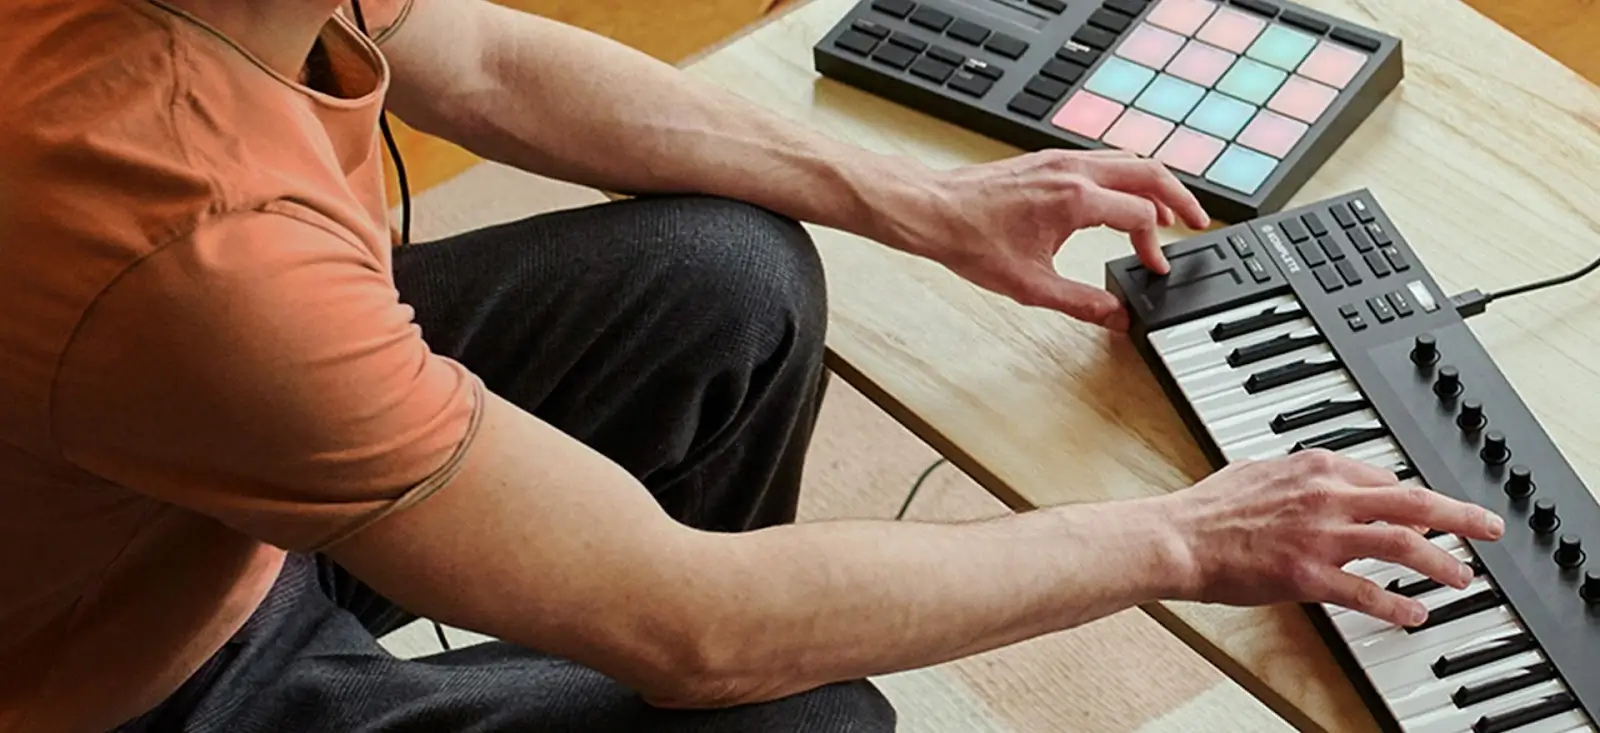
Equipment such as the Novation Launchkey and Launchpad series provides artists with tangible interfaces to activate notes and tweak audio parameters. With their extensive customization capabilities, these controllers have become indispensable instruments for any music producer’s arsenal.
Using MIDI Instruments
Utilizing MIDI instruments within the realm of music production and during live performances opens up a myriad of inventive options. MIDI has the capability to manipulate multiple apparatuses, including lighting setups, drum machines, and synthesizers. Through filters and envelopes found in synthesizers and samplers, one can modify sound color (timbre) and automate its developmental progression temporally.
The adaptability afforded by MIDI instruments renders them an essential tool for artists in both recording studios and concert environments. This allows performers to effortlessly orchestrate sophisticated and vibrant musical shows.
MIDI Messages and Events
MIDI messages serve as a set of commands that direct recipient devices in sound creation and modification, though they themselves do not produce any auditory output. These instructions encompass:
- Note-On and Note-Off signals that determine the initiation and cessation of musical notes
- Control Change commands that modify real-time parameters such as modulation and volume
- Program Change signals which facilitate smooth transitions among different instrument tones within an individual device.
Messages for Pitch Bend allow altering the tone’s pitch to imitate effects like vibrato. Meanwhile, Aftertouch messages offer nuanced control over elements including filter modulation or vibratio intensity. Grasping these distinct MIDI message types is crucial for maximizing the capabilities of MIDI technology in music production, providing detailed command over one’s musical creations.
Editing and Manipulating MIDI Data in DAWs
Digital Audio Workstations (DAWs) allow you to convert MIDI sequences into audio, which not only conserves CPU power but also ensures smoother playback performance. These systems serve as central nodes that house all MIDI information. This simplifies the task of handling intricate compositions.
DAWs are a fundamental part of the modern music-making process. Inside your DAW, you can:
- Utilize the piano roll for sequence edits
- Manually insert MIDI notes into tracks
- Modify note attributes like length and velocity to refine your musical expression
- Apply quantization features to synchronize MIDI notes with a grid, delivering precise timing for a more professional sound.
- Assign control parameters from your MIDI controller to software operations, enhancing both workflow efficiency and artistic exploration.
- Tweak virtual instrument settings linked with MIDI tracks to meticulously sculpt tones.
Advanced MIDI Techniques
The realm of music production is constantly evolving, and advanced MIDI techniques are at the forefront of this transformation. The technique known as MIDI Polyphonic Expression (MPE) revolutionizes how multidimensional controllers manipulate various note parameters via software, vastly improving the expressive potential of digital instruments.
MIDI Polyphonic Expression (MPE)
MIDI Polyphonic Expression, or MPE, enhances the capabilities of MIDI by facilitating independent control over each note. This advancement permits musicians to manipulate aspects such as pitch and timbre with greater precision while playing a note, thereby granting electronic instruments an expressiveness on par with their acoustic counterparts.
Electronic instruments like the ROLI Seaboard and LinnStrument are specifically engineered to fully leverage MPE. These tools provide unmatched command over all aspects of a musician’s performance.
Sequencing and Automation
A MIDI sequencer facilitates the organization and execution of a sequence of MIDI instructions. It retains MIDI information for management, editing, playback purposes, and transmits this data across various
Automation refers to the process of programming variations in different parameters over time—for instance, adjusting volume or panning angles—thereby increasing the musical expression and injecting dynamic shifts into a composition. Such control is crucial for producing music that sounds refined and professional.
Common MIDI Setups for Music Producers
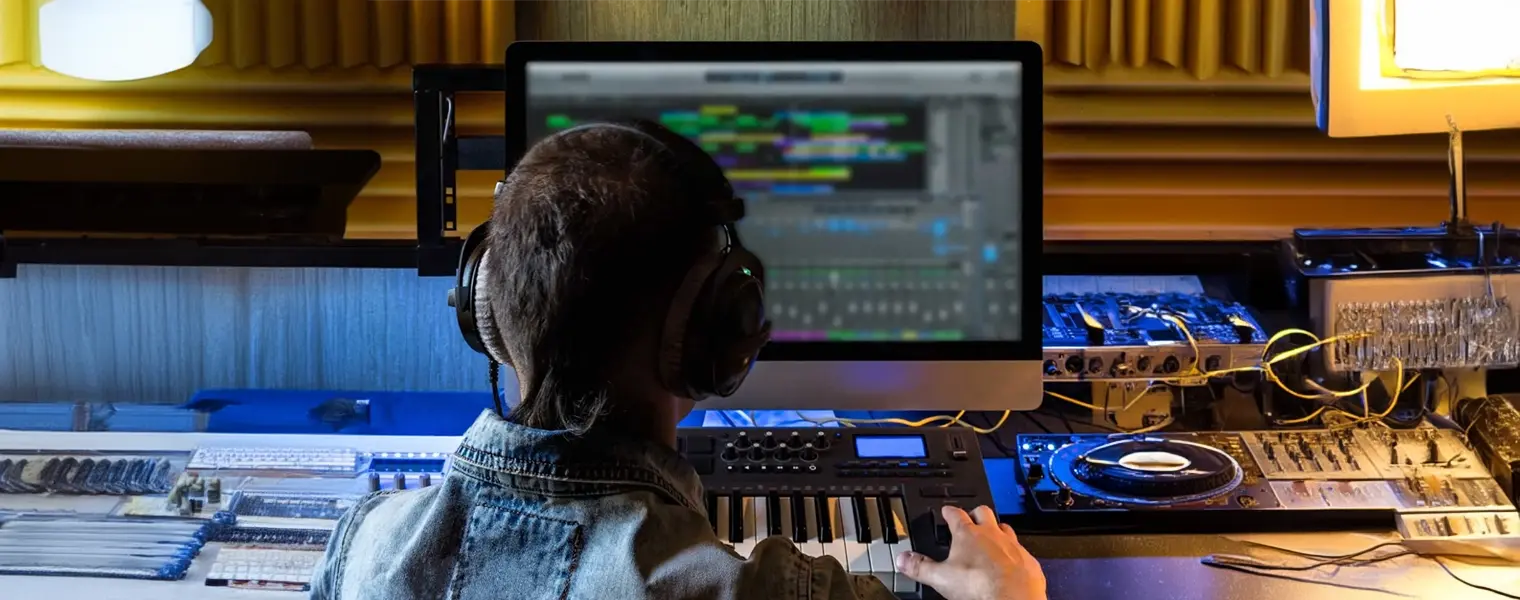
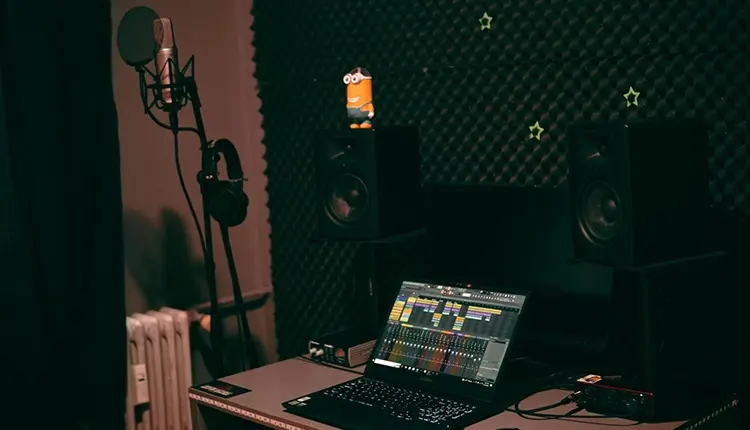
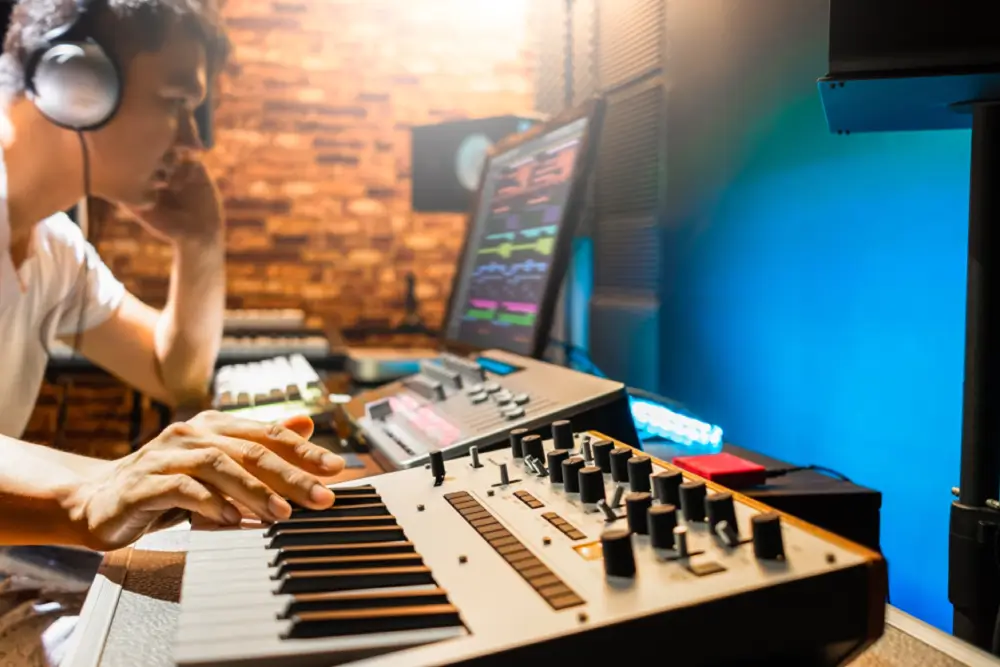
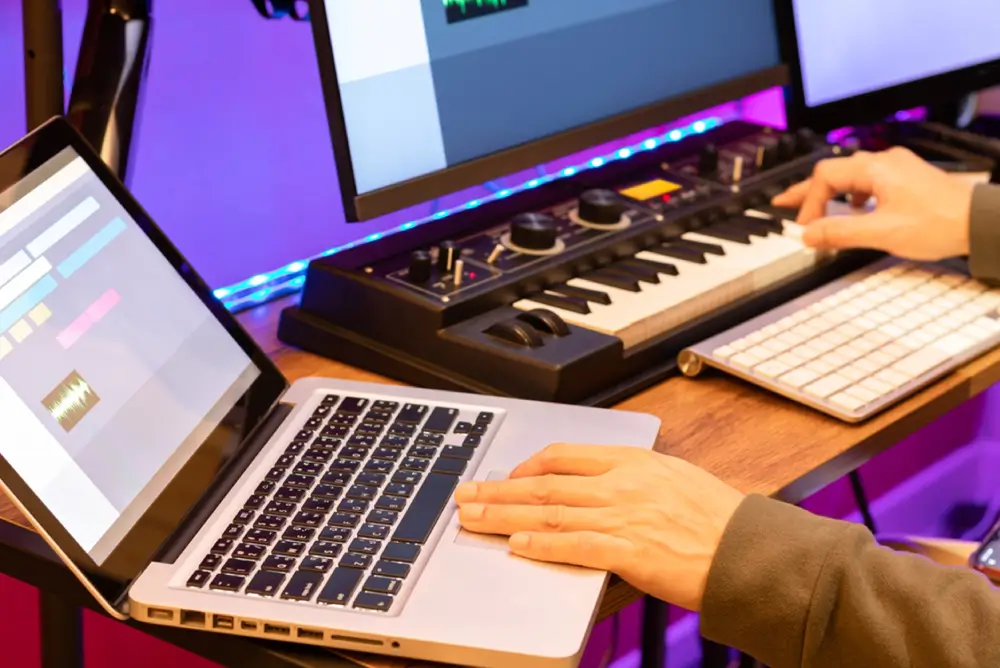
Understanding common MIDI setups can aid in workflow optimization, whether you’re a beginner or an experienced producer. One of the simplest and most common setups involves a MIDI keyboard connected to a computer running a DAW. This configuration is ideal for home studios, offering a portable and powerful solution for creating and manipulating music. Enhance your creative capabilities with MIDI controllers that come equipped with assignable features such as knobs, pads, and sliders. These can be easily integrated into your DAW to provide greater flexibility and control over your music production.
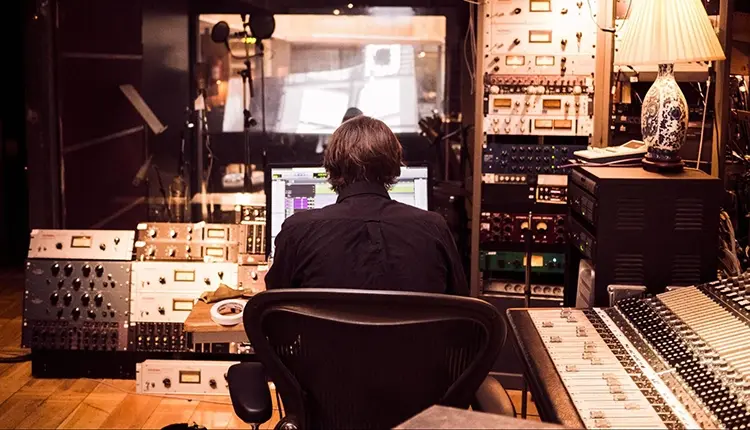
For more advanced configurations, a computer, MIDI interface, and external MIDI instruments like hardware synthesizers or samplers can be used. Hardware-focused setups often involve a hardware sequencer to control MIDI events in conjunction with other equipment like drum machines and synthesizers. These setups provide greater flexibility and control, allowing you to create more complex and dynamic music productions.
DAW and MIDI Controller
Many musicians favor the combination of a MIDI controller and a Digital Audio Workstation (DAW) for its ease of use, portability, and robust capabilities in music production. This pairing significantly improves workflow as it offers tactile interaction with different musical parameters.
For instance, the Novation Launchpad series boasts a 64-pad MIDI grid that is tailor-made for integration with DAWs such as Ableton Live. Such controllers are ideally suited not only to studio production but also excel in live performance environments.
Computer, MIDI Interface, and Synthesizers
For those looking to expand their setup, using a computer, MIDI interface, and external synthesizers offers a more advanced solution. In this configuration, the DAW acts as the main hub for sending and sequencing all MIDI information, while the MIDI interface handles the conversion and transmission of data between the computer and the synthesizers. This setup allows for greater flexibility and control, enabling musicians to:
- Create more complex and detailed compositions
- Experiment with different sounds and textures
- Incorporate external hardware synths into their workflow
- Take advantage of the full capabilities of their MIDI instruments
By utilizing this setup, musicians can take their music production to the next level.
Hardware Sequencer, Drum Machine, and Synthesizer
For enthusiasts who enjoy tactile control in their music production process, a setup that includes a hardware sequencer, drum machine, and synthesizer is optimal. The functionality of this configuration allows the hardware sequencer to dispatch MIDI data to both drum machines and synthesizers, enabling the creation of complex rhythms and vibrant auditory environments.
Such an arrangement serves as an alternative to using Digital Audio Workstation (DAW) software for editing MIDI data. It offers a more hands-on approach that can feel more intuitive for crafting and tweaking MIDI information.
Troubleshooting MIDI Issues
Troubleshooting is an essential ability for all musicians, as even the most meticulously designed MIDI setups can encounter difficulties. These issues commonly include:
- Problems with connections
- Devices configured incorrectly
- Defective midi cables
- Overburdening a MIDI interface with excessive data, which could corrupt midi messages and cause notes to stick
Mastering the skills needed to pinpoint and rectify these problems will immensely reduce frustration and aid in preserving your artistic momentum.
For any MIDI setup to operate correctly, ensuring solid connections is crucial. Before recording, double-check that every single MIDI cable or USB link is fastened securely and set up properly. Rather than relying on passive hubs which may fail, opt for a powered USB hub equipped with its own adapter, this guarantees consistent device communication.
If all else fails, you may need to employ tools specifically tailored for monitoring MIDI activity. Such resources are invaluable when it comes to diagnosing connection problems as they allow you to see & scrutinize transmitted MIDI data.
Identifying MIDI Problems
Regularly examining the MIDI configuration settings in your DAW and connected equipment is key to pinpointing issues with MIDI. Typical difficulties encountered might consist of:
- Issues relating to connection
- Mistakes concerning settings for the MIDI channel
- Sending an excessive amount of data through a MIDI interface, which can corrupt midi messages and result in sustained notes
- Defective cables that could lead to a total cessation of note playing (although this occurrence is uncommon)
Addressing these specific concerns typically rectifies most complications associated with MIDI.
Early detection of these problems can help avoid more severe troubles later on.
Ensuring Proper Connections
To tackle MIDI-related problems effectively, it’s crucial to check the following:
- All MIDI cables must be firmly connected to their designated ports.
- USB connections should be configured correctly.
- The computer and digital audio workstation (DAW) should recognize the MIDI interface.
For optimal performance, connect your MIDI devices using a powered USB hub that comes with an independent power supply adapter. This helps bypass issues often encountered with passive hubs.
Using MIDI Monitoring Tools
Tools for monitoring MIDI are essential when it comes to diagnosing and resolving issues related to MIDI. By providing a way to visualize and dissect the midi data exchanged between instruments, these utilities simplify the process of pinpointing and fixing errors. Programs such as MIDI Monitor on Macs or MIDI-OX for Windows offer comprehensive details about every MIDI message sent, which facilitates confirmation that values of MIDI data align accurately with actions from keys, pads, buttons, or encoders.
Employing such tools can be a significant time-saver by confirming the smooth operation of your setup involving MIDI.
Summary
MIDI is an essential piece of contemporary music production. This blog has comprehensively addressed every aspect required to fully exploit MIDI’s capabilities, from grasping fundamental concepts and configuring your gear to delving into sophisticated methods such as MPE and sequencing. Keep in mind that MIDI extends beyond being merely an apparatus. Immerse yourself, engage in experimentation, and unleash the boundless scope of your musical creativity.
Ready to Elevate Your Music Production Skills?
Whether you’re just starting out with MIDI or looking to perfect your craft, Slate Digital’s Academy offers comprehensive courses designed to help you achieve professional results. Dive deep into music production, learn from industry experts, and gain hands-on experience with our state-of-the-art tools. Don’t miss this opportunity to transform your sound—explore our Academy today and choose the plan that best suits your creative journey.
Frequently Asked Questions
What is MIDI?
MIDI is an acronym for Musical Instrument Digital Interface, a protocol that facilitates communication between electronic musical instruments, computers, and various other devices to interface with each other.
Why is MIDI important in music production?
In music production, MIDI stands as a crucial tool due to its capacity for adaptability and accuracy alongside maintaining a small file footprint, thus permitting artists to seamlessly alter settings without compromising the fidelity of their work.
What are the key components of a MIDI setup?
MIDI data transmission within a MIDI setup is enabled through essential elements, including interfaces, cables, and MIDI ports, each fulfilling unique roles.
How does MIDI Polyphonic Expression (MPE) enhance music production?
MPE, or MIDI Polyphonic Expression, advances the field of music production by allowing nuanced and continuous control over pitch bend, timbre, and additional intricacies on a per-note basis within chords. This provides increased expressive capabilities for electronic instruments.
How can I troubleshoot common MIDI issues?
When addressing typical MIDI problems, it’s crucial to examine your MIDI setup options, verify that the connections are correct, and utilize tools designed for monitoring MIDI to pinpoint any issues with data transmission.


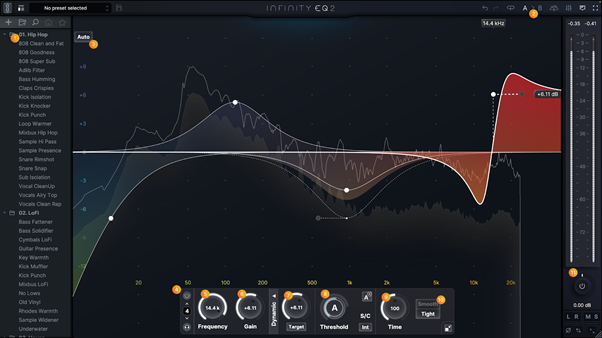


 Multiband compression is a technique that offers more flexibility and precision than standard compressors by splitting the audio signal into multiple frequency bands and applying different compression settings to each band. This allows for specific control over the dynamics of different parts of the audio spectrum, which can significantly improve the quality of a track.
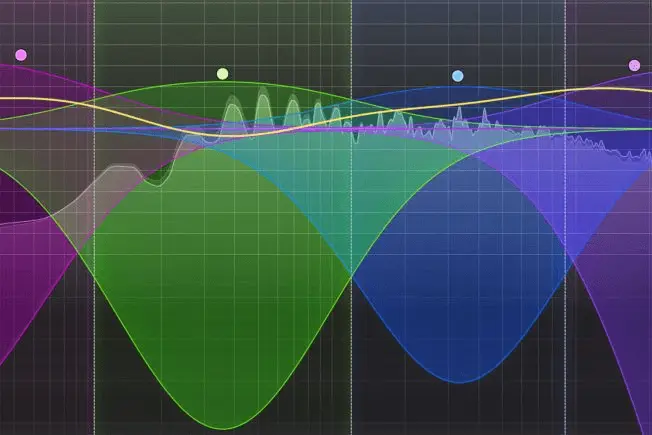 Multiband compression is not just a mastering tool; it has found its way into various stages of music production, offering unique solutions for different challenges. Dividing the frequency spectrum into distinct bands enables specific treatment of each band, making multiband compression a versatile tool.
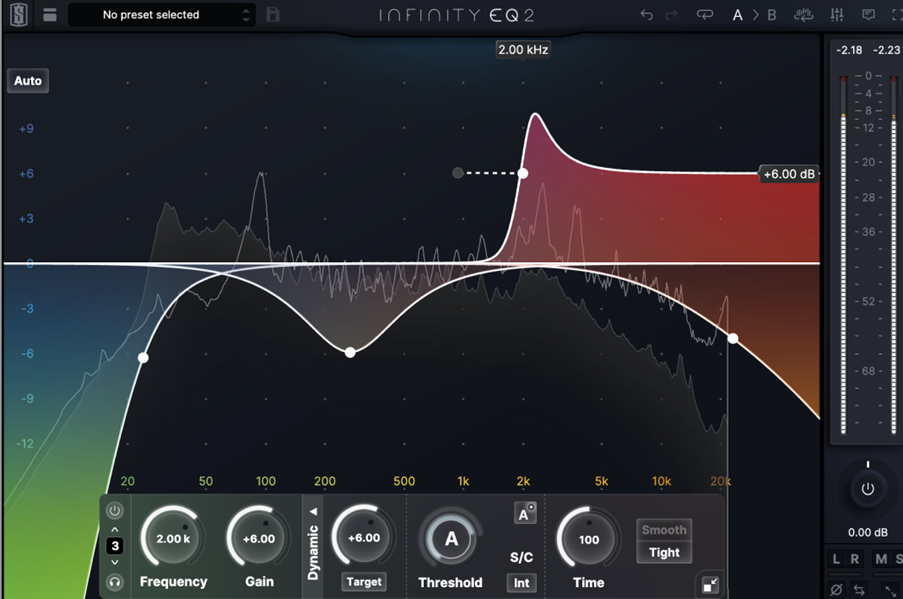
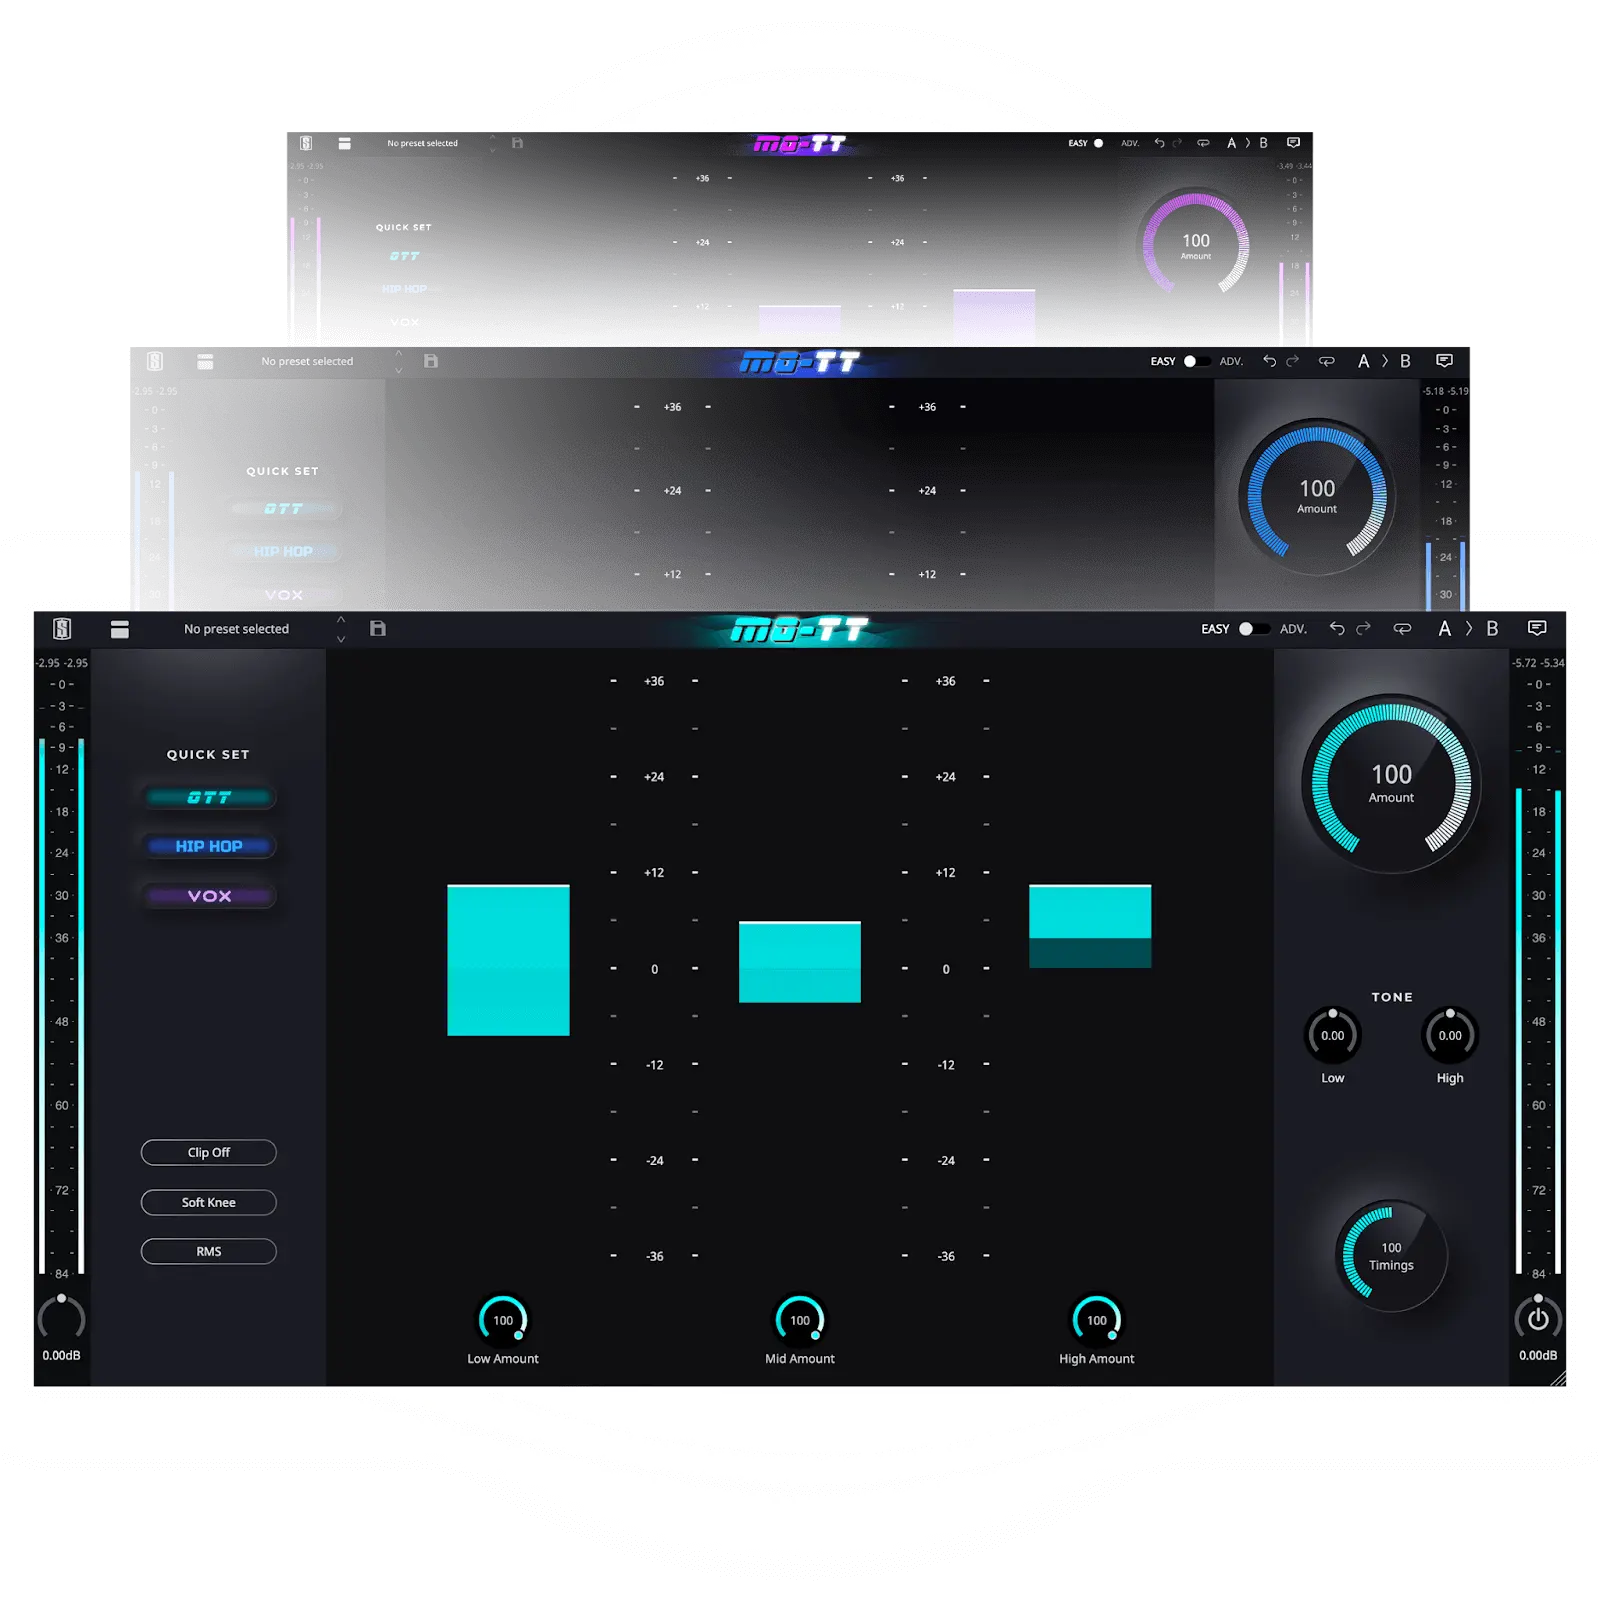 Understanding the key parameters of multiband compressors is essential for achieving the desired sound. These parameters allow you to shape sounds, modify their tonal quality, and manage transients effectively. By operating on specific frequency ranges rather than the entire audio signal, multiband compressors offer detailed control over the dynamic content of your mix.
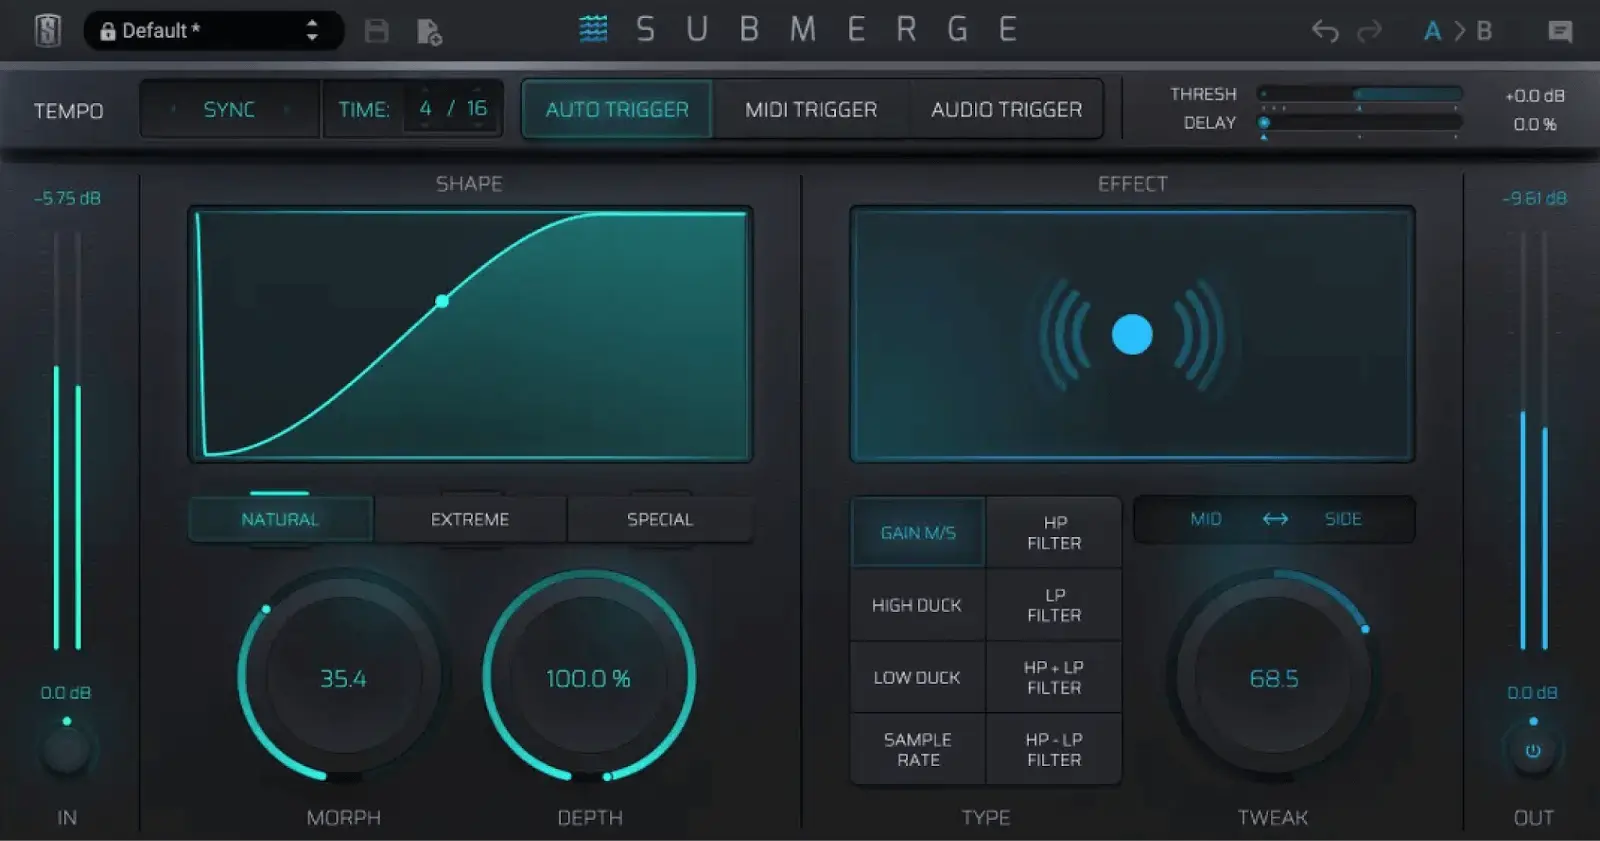
 Multiband compression is not only useful for correcting issues but also for creative sound shaping. It allows for the creation of distinct sound textures that are not achievable with traditional compression methods. By altering tone and dynamics simultaneously, multiband compression can make sounds more squashed and fat, leading to unique sonic results.