

A vocal chain is the sequence of plugins on your vocal track, in a specific order, from raw recording to finished mix. The order matters more than the specific plugins you pick. Get it backwards and every plugin fights the one before it. Get it right and each one makes the next one’s job easier.
This isn’t a shopping list. It’s a framework. Once you understand why each slot exists, you can swap in whatever tools you’ve got and the chain still works.
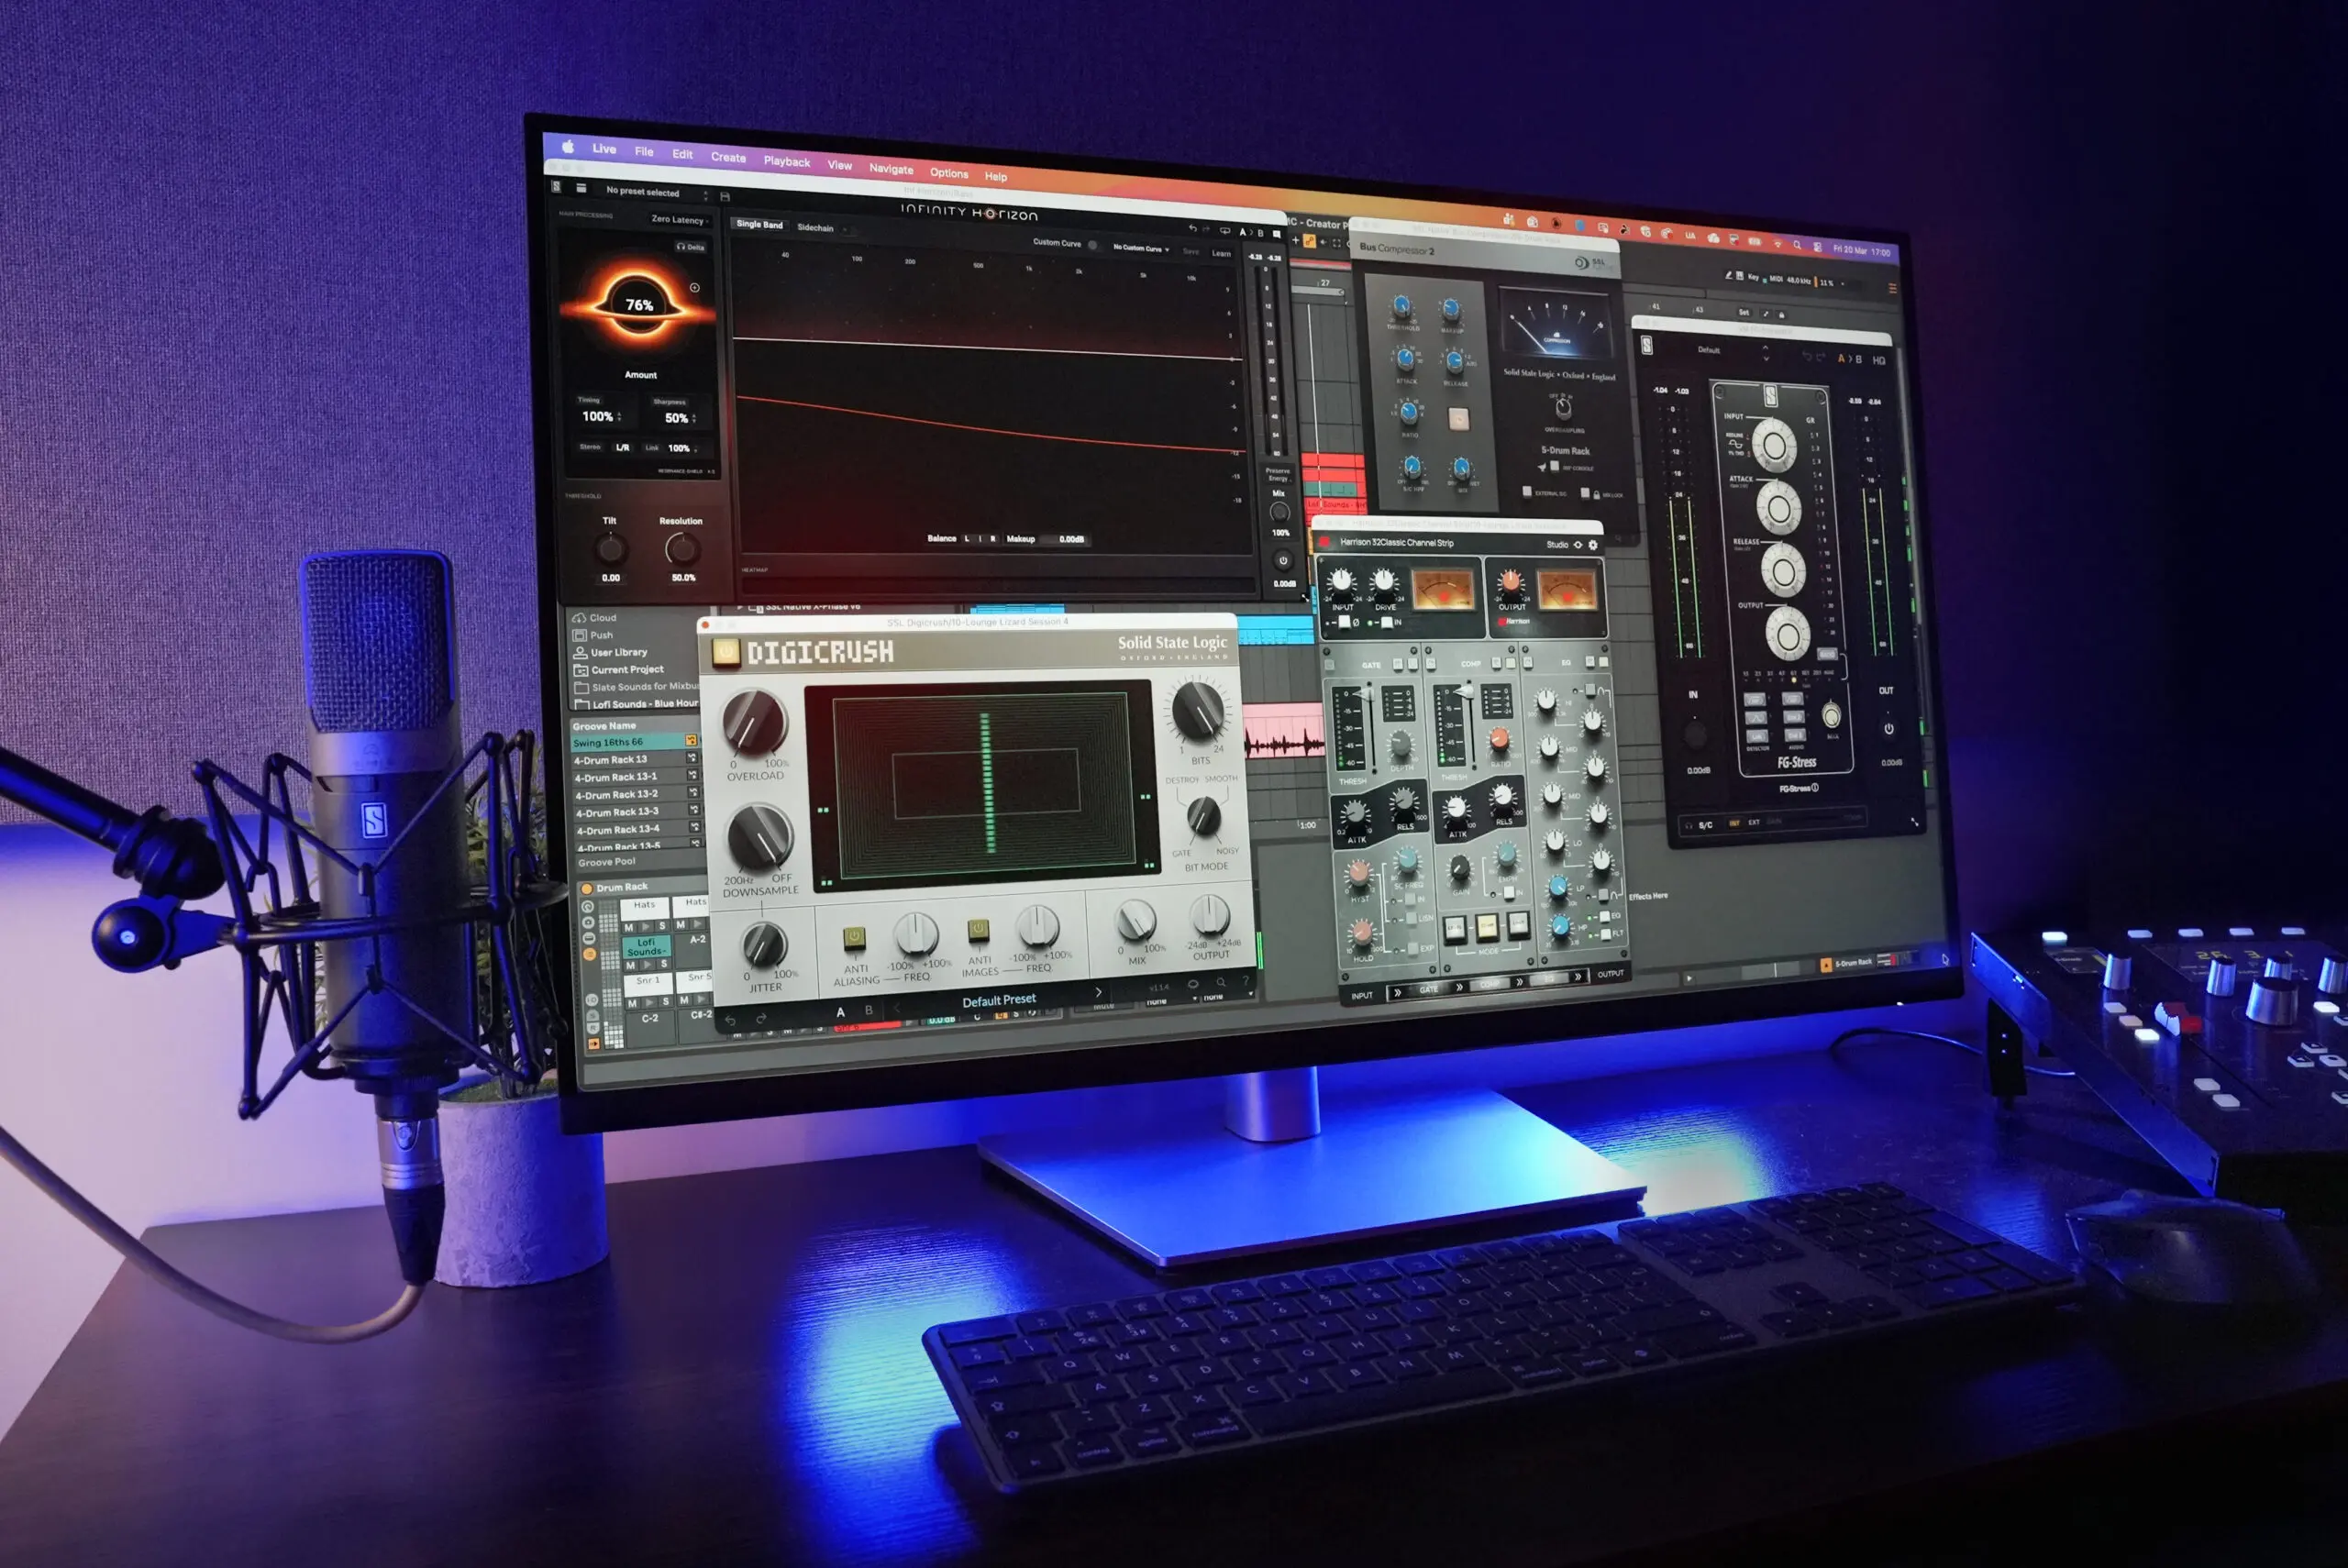
The signal flow
1. Gain staging
Set your input level before anything else. Most analog-modeled plugins expect signal around -18 dBFS. Feed them a track that’s pinned at -6 dB and you’re overdriving the models before any real processing happens.
A trim plugin at the top of the chain fixes this in two seconds. In Virtual Mix Rack, the first module slot works well for a preamp module. Set the level there and move on.
2. Subtractive EQ
Cut before you boost. Always.
Roll off the low end below 80-100 Hz. There’s nothing useful down there on most vocals, and it’s eating headroom. Then sweep around for any resonant frequencies that poke out when the singer hits certain notes. This is cleanup, not tone shaping. You’re removing problems so the compressor doesn’t react to them.
Infinity EQ’s spectrum analyzer makes it easy to spot the resonances visually, but any clean parametric EQ does the same job.
3. De-essing (first pass)
Here’s the thing most people get wrong: sibilance gets louder after compression. If you only de-ess after the compressor, you’ll need aggressive settings that make consonants sound lispy.
A light de-esser before compression catches the worst “s” and “t” peaks so the compressor sees a more even signal. Don’t overdo it. You’re shaving peaks, not removing consonants. A second, lighter pass after compression can catch whatever’s left.

4. Compression
This is where the vocal stops jumping around and starts sitting in the mix. The goal: reduce the dynamic range enough that the vocal feels consistent without sounding squeezed.
Two compressors in series, each doing moderate work (3-6 dB of gain reduction), can sound better than one compressor doing all the heavy lifting. The first one catches peaks. The second smooths out the level. Together they sound more natural than either one doing all the work.
In Virtual Mix Rack, you can stack compressor modules in the same plugin window. The FG-116 for fast peak control followed by the FG-2A for smooth leveling is worth trying.
5. Additive EQ and tone shaping
Now that dynamics are controlled, boosts will stick where you put them instead of spiking unevenly.
Fresh Air was built for this stage. It adds high-frequency clarity without the harshness that a standard shelf boost introduces. Single knob, free, does one thing well. If the vocal also needs body in the low-mids, handle that on a separate EQ with a broad bell.
6. Saturation (optional)
A touch of harmonic saturation can add warmth and help a vocal cut through a dense arrangement. Tape emulation, tube modeling, console-style coloring. Keep it subtle. If you can hear the saturation as distortion, back it off.
7. Reverb and delay (send effects)
These go on aux/send channels, not directly on the vocal insert. That distinction matters. You want the dry vocal upfront and the sends creating space around it.
A short room reverb on one send, a longer plate or hall on another, and maybe a slapback delay at 80-120ms with no feedback. That gives you depth without washing anything out.
Common mistakes
Wrong processing order is the most common, and the most fixable.
Over-compressing is the second. If the vocal sounds flat and lifeless, you’ve crushed too much dynamic range. Back off the ratio or raise the threshold. This is the fix most of the time.
Boosting before cutting means your compressor reacts to frequencies you don’t even want in the final vocal. Cut first.
And the sneaky one: soloing the vocal while you mix. Decisions that sound great in solo frequently sound terrible in context. Check against the full mix constantly.
The short version
Trim the level. Cut the junk. Tame the sibilance. Compress for consistency. Shape the tone. Add space with sends.
The specific plugins matter less than the order and the intent behind each stage. If you want to try this with minimal plugin windows, Virtual Mix Rack handles stages 1 through 4 inside one instance. Add Fresh Air after it for the top-end polish. That’s two plugin windows covering most of the chain.