
In the realm of home recording, achieving professional-quality results doesn’t always require expensive gear or a state-of-the-art studio.
With the right techniques and practices, you can capture stunning audio recordings that rival those produced in top-tier facilities. Whether you’re setting up a home studio, have limited resources, or are totally new to recording, understanding best recording practices is essential for success.
Getting Started
In this guide, we’ll explore some of the best recording practices tailored specifically for home studio enthusiasts.
Creating an optimal recording environment doesn’t necessarily mean constructing a soundproofed studio from scratch. Instead, focus on minimizing external noise and controlling reflections within your existing space:
Choose the Right Room
Select a room with minimal background noise and ambient distractions. A bedroom, basement, or even a closet can serve as a suitable recording space with a few adjustments.
Reduce Reflections
Hang blankets, curtains, or acoustic panels on the walls to absorb reflections and minimize reverberation. This simple step can significantly improve the clarity and fidelity of your recordings.
Isolate External Noise
Close windows and doors to block out external sounds, and consider investing in a good pair of headphones for critical listening and monitoring.
Position Your Microphone Correctly
Proper microphone placement is crucial for capturing clean, balanced recordings with minimal unwanted artifacts. Follow these guidelines for optimal microphone placement:
Maintain Consistency
Keep the distance and angle between the microphone and the sound source consistent throughout your recording session to ensure uniformity across tracks.
Experiment with Placement
Don’t be afraid to experiment with microphone placement to find the sweet spot for each instrument or vocalist. Small adjustments can make a significant difference in the overall sound quality.
Mind the Room
Pay attention to the room’s acoustics and adjust microphone placement accordingly. Position microphones away from walls and corners to minimize reflections and achieve a more natural sound.
Use Proper Gain Staging
Gain staging is essential for ensuring a proper signal-to-noise ratio and avoiding distorted recordings. Follow these steps to achieve optimal gain staging:
Set Input Levels
Adjust the input gain on your audio interface or mixer so that the loudest parts of your signal peak just below 0 dBFS. Make sure to Avoid clipping, as this can result in irreversible distortion.
Monitor Levels
Keep an eye on your levels throughout the recording process to ensure they remain consistent and within an appropriate range. Use your recording software’s metering tools to monitor signal levels in real-time.
Avoid Overloading
If your signal is consistently clipping or distorting, reduce the input gain and adjust your recording levels accordingly. It’s better to record at a lower level and boost the volume later in the mixing process than to risk clipping during recording.
Pay Attention to Room Acoustics
Even in a home studio environment, room acoustics play a significant role in the quality of your recordings. Here are some tips for optimizing room acoustics on a budget:
DIY Acoustic Treatment
Consider building your own acoustic panels using affordable materials like fiberglass insulation, wooden frames, and fabric. There are plenty of online resources and tutorials available to guide you through the process.
Strategic Furniture Placement
Arrange furniture and other objects in your recording space to help break up reflections and diffuse sound waves. Bookshelves, sofas, and curtains can all contribute to a more acoustically balanced environment.
Experiment with Mic Placement
Use microphone placement to your advantage by positioning microphones to minimize room reflections and capture a more direct sound from the source.
Embrace the Power of Editing
Even the most meticulously recorded audio can benefit from a bit of post-production editing. Here are some basic editing techniques to enhance your recordings:
Trimming and Cutting
Remove any unwanted noise, clicks, or pops from your recordings by trimming the audio waveform using your recording software’s editing tools.
Equalization (EQ)
Use EQ to shape the tonal balance of your recordings, emphasizing desired frequencies and cutting out unwanted resonances or harshness.
Compression
Apply gentle compression to smooth out the dynamics of your recordings and ensure a more consistent volume level.
Reverb and Effects
Experiment with reverb, delay, and other effects to add depth and dimension to your recordings. Just be sure to use them sparingly and tastefully to avoid overwhelming the mix.
Invest in Quality Equipment Wisely
While you can certainly achieve great results with budget-friendly gear, investing in high-quality equipment will make a significant difference in the long run. Here are some essential pieces of equipment worth investing in:
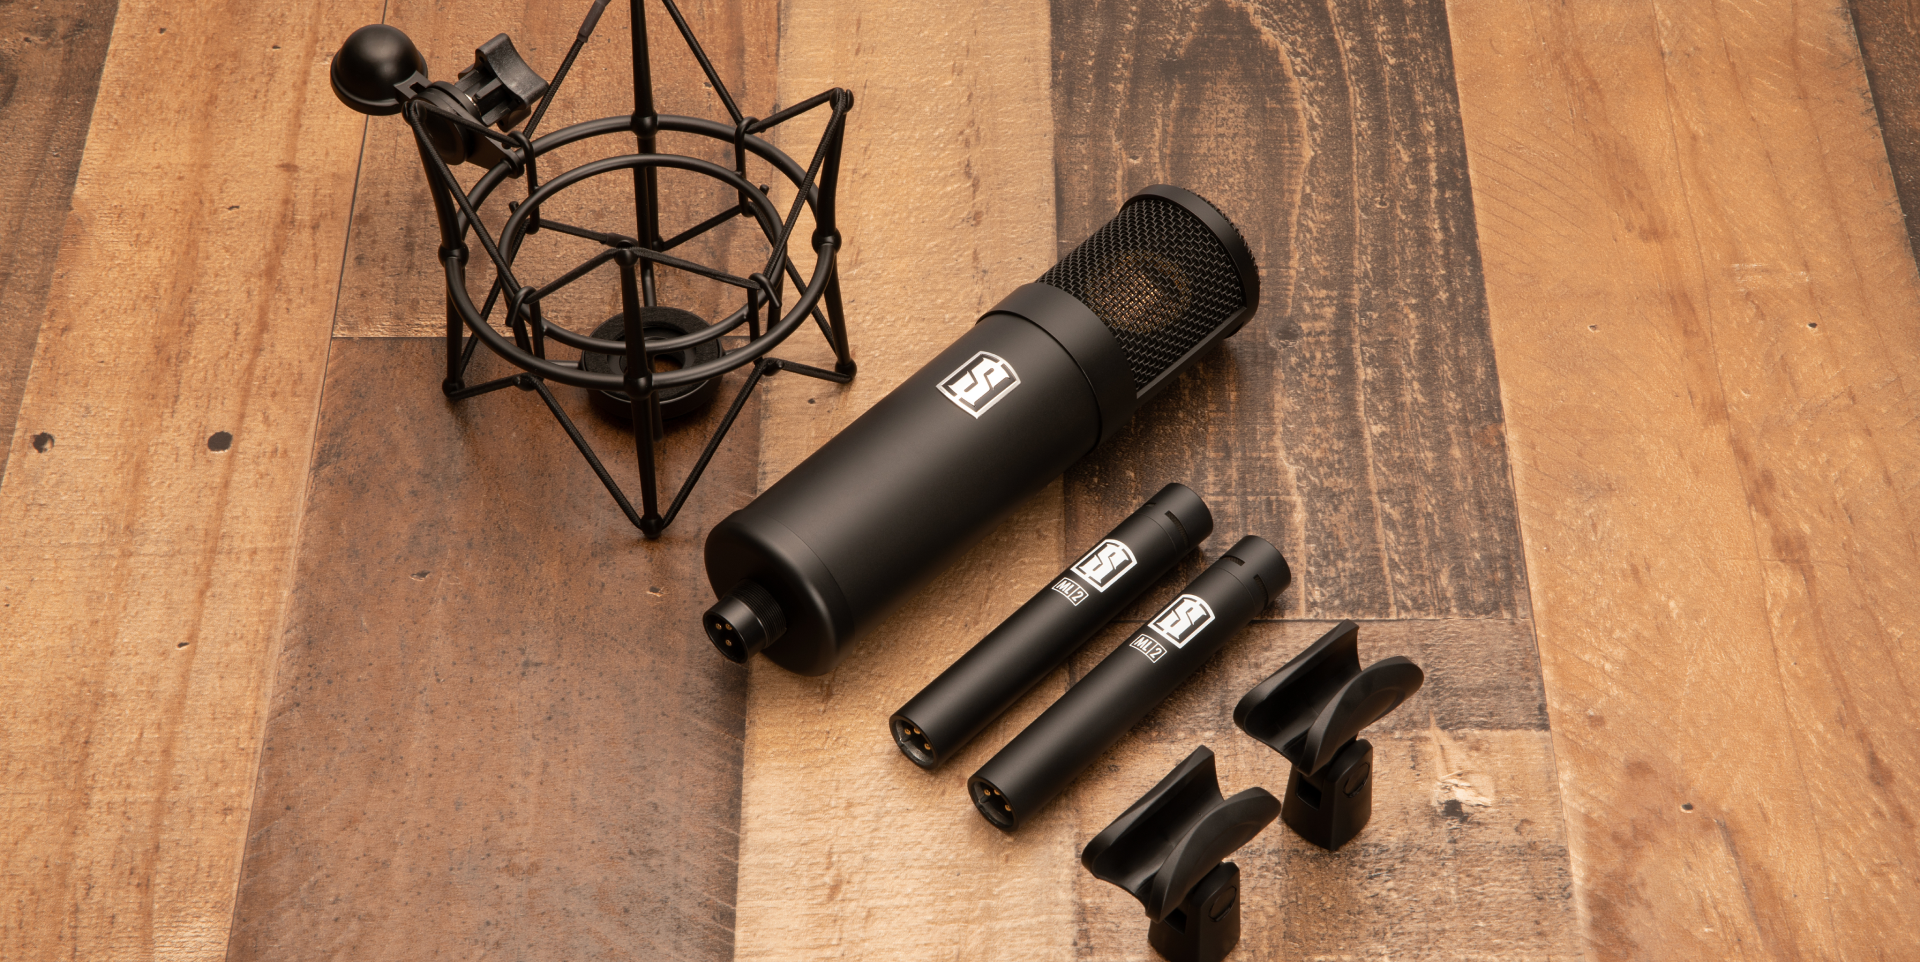
Microphones
Invest in versatile, high-quality microphones that can handle a variety of recording tasks. Look for mics with transparent sound reproduction and durable construction.
Audio Interface
Choose an audio interface with low-latency performance, high-quality preamps, and ample input/output options to accommodate your recording needs.
Monitors and Headphones
Invest in a pair of studio monitors or headphones with accurate frequency response and comfortable fit for critical listening and monitoring.
Room Treatment
Allocate some budget for acoustic treatment materials to improve the sound quality of your recording space and minimize unwanted reflections.
Setting up a home studio on a budget doesn’t mean compromising on quality.
Conclusion
By following these best recording practices and techniques, you can achieve professional-grade results without breaking the bank. Focus on optimizing your recording environment, mastering proper microphone placement and gain staging, and embracing the power of post-production editing to enhance your recordings. As long as you prioritize the right things, you’ll be making pro-level recordings in no time.